Windows Service Installation
This guide explains how to install a TestBench service as a Windows service using NSSM, FireDaemon, YAJSW, or the built-in Windows Task Scheduler.
Each service's documentation provides the concrete values to substitute for <serviceName>, <serviceDisplayName>, <serviceExecutable>, <servicePort>, and <serviceInstallDir> used in the examples below.
Requirements
- Installed service: Either the ready-to-use executable (recommended, no Python needed) or a pip install with a
.venv— see the service's Installation guide - Administrator Privileges: Required for installing and managing Windows services
- Port Availability: Ensure the desired port is not in use by another application
The examples throughout this guide use a Python virtual environment path such as .venv\Scripts\<serviceExecutable>.
If you installed using the ready-to-use executable, replace this with the direct path to the extracted executable instead, e.g., <serviceInstallDir>\<serviceExecutable>. No .venv folder is involved.
Which Option to Choose?
| Feature | NSSM | FireDaemon | YAJSW |
|---|---|---|---|
| License | Free (Public Domain) | Commercial | Free (Apache License) |
| GUI | Yes | Yes | No |
| Requirements | None | None | Java Runtime |
| Complexity | Low | Low | Medium |
| Best For | Most users, simple & free | Enterprise GUI management | Java environments, cross-platform |
Recommendations
- NSSM: Recommended for most users — free, lightweight, simple to configure, well-documented, and widely used
- FireDaemon: Choose if you have budget for commercial software and prefer comprehensive GUI-based management with advanced features
- YAJSW: Choose if you already have Java installed or need cross-platform compatibility (also supports Linux/macOS)
Option 1: NSSM (Recommended)
Installation
- Open a command prompt (e.g., PowerShell) as Administrator.
- Configure the service using one of the following methods:
Method 1: GUI Configuration
-
Run the command
nssm install <serviceName>. The GUI will open automatically.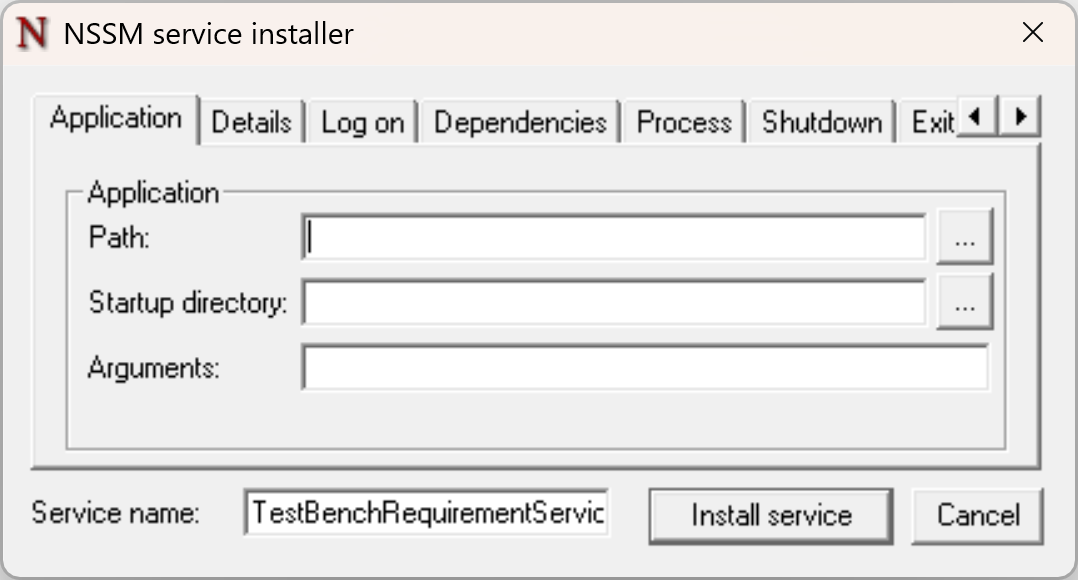
-
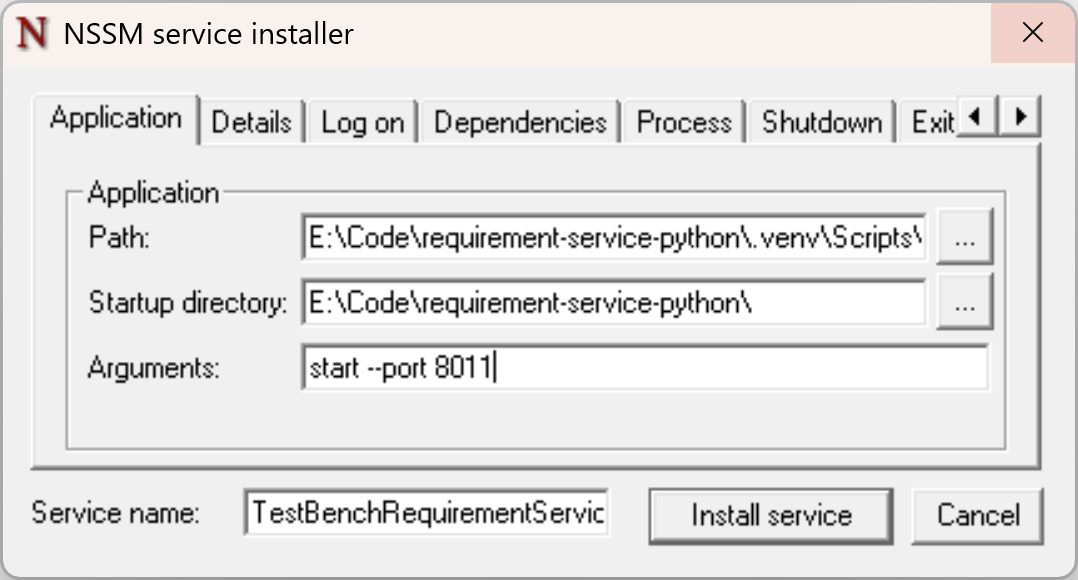
Configure the following in the Application tab:
- Path: Path to the service executable
e.g.,
<serviceInstallDir>\.venv\Scripts\<serviceExecutable> - Startup directory: Path to the root directory containing configuration files
e.g.,
<serviceInstallDir>\ - Arguments: Startup parameters
e.g.,
start --port <servicePort>
- Path: Path to the service executable
e.g.,
-
Configure the following in the Details tab:
- Display name:
<serviceDisplayName> - Description:
Python-based <serviceDisplayName> - Startup type:
Automatic (Delayed Start)
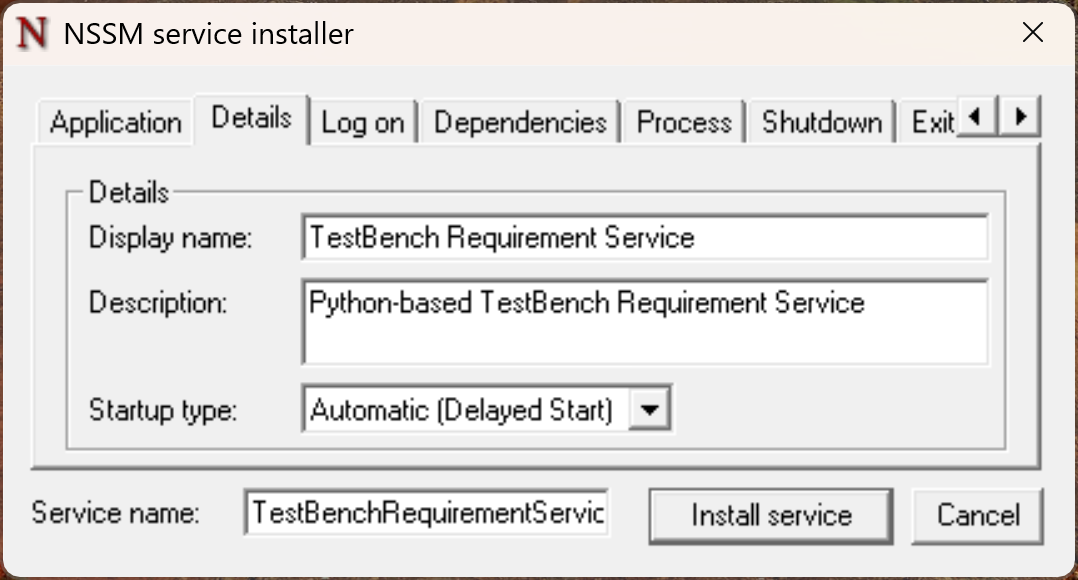
- Display name:
-
Optional: In the Log On tab, configure the service for specific accounts. Only needed if not using the local system account.
-
Optional: In the Dependencies tab, configure Windows Service dependencies. Only needed if something must run before the service starts.
-
Optional: In the Process tab, configure process-related settings such as process priority.
-
Optional: In the Shutdown tab, specify how the service should handle shutdown.
-
Configure the following in the Exit actions tab:
- Restart:
Stop Service (oneshot mode)
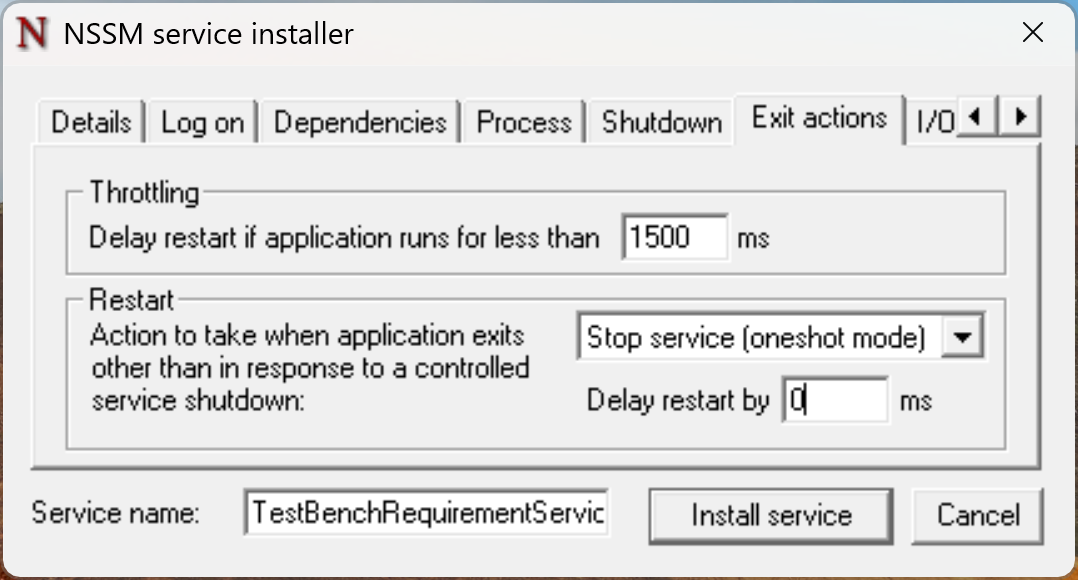
- Restart:
-
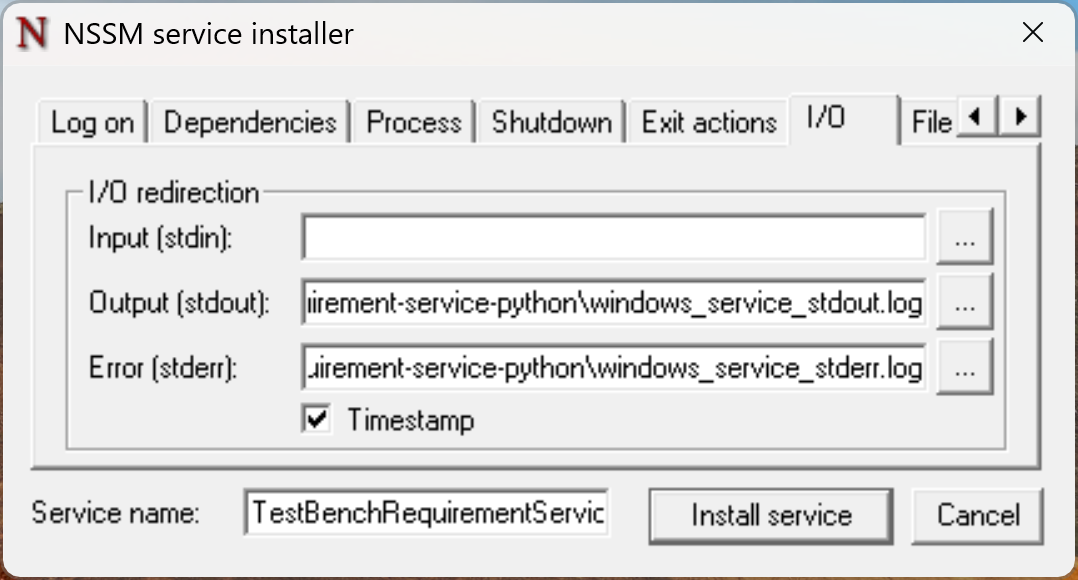
Configure the following in the I/O tab:
- Output (stdout): Path to the log file for stdout output
- Error (stderr): Path to the log file for stderr output
-
Optional: In the File rotation tab, configure log file rotation.
-
Optional: In the Environment tab, set environment variables for the service.
-
Optional: In the Hooks tab, define event hooks such as running a command before service start.
-
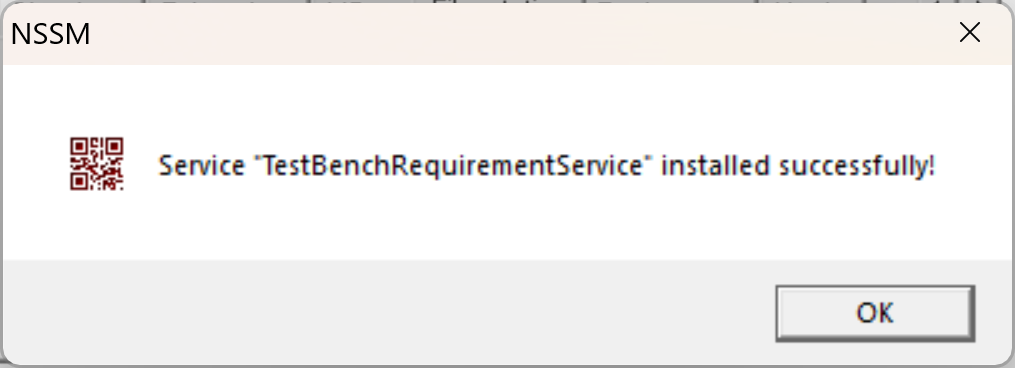
After completing all settings, click the "Install Service" button to install the service.

-
A confirmation dialog should appear upon successful installation.
Method 2: CLI Configuration
-
Install the service directly:
nssm install <serviceName> "<serviceInstallDir>\.venv\Scripts\<serviceExecutable>" "start --port <servicePort>" -
Configure application settings (startup directory):
nssm set <serviceName> AppDirectory "<serviceInstallDir>" -
Configure details settings (display name, description, startup type):
nssm set <serviceName> DisplayName "<serviceDisplayName>"nssm set <serviceName> Description "Python-based <serviceDisplayName>"nssm set <serviceName> Start SERVICE_DELAYED_AUTO_START -
Configure exit actions (restart behavior):
nssm set <serviceName> AppExit Default StopService -
Configure I/O settings (logging):
nssm set <serviceName> AppStdout "<serviceInstallDir>\logs\stdout.log"nssm set <serviceName> AppStderr "<serviceInstallDir>\logs\stderr.log"nssm set <serviceName> AppRotateFiles 1
Managing the Service
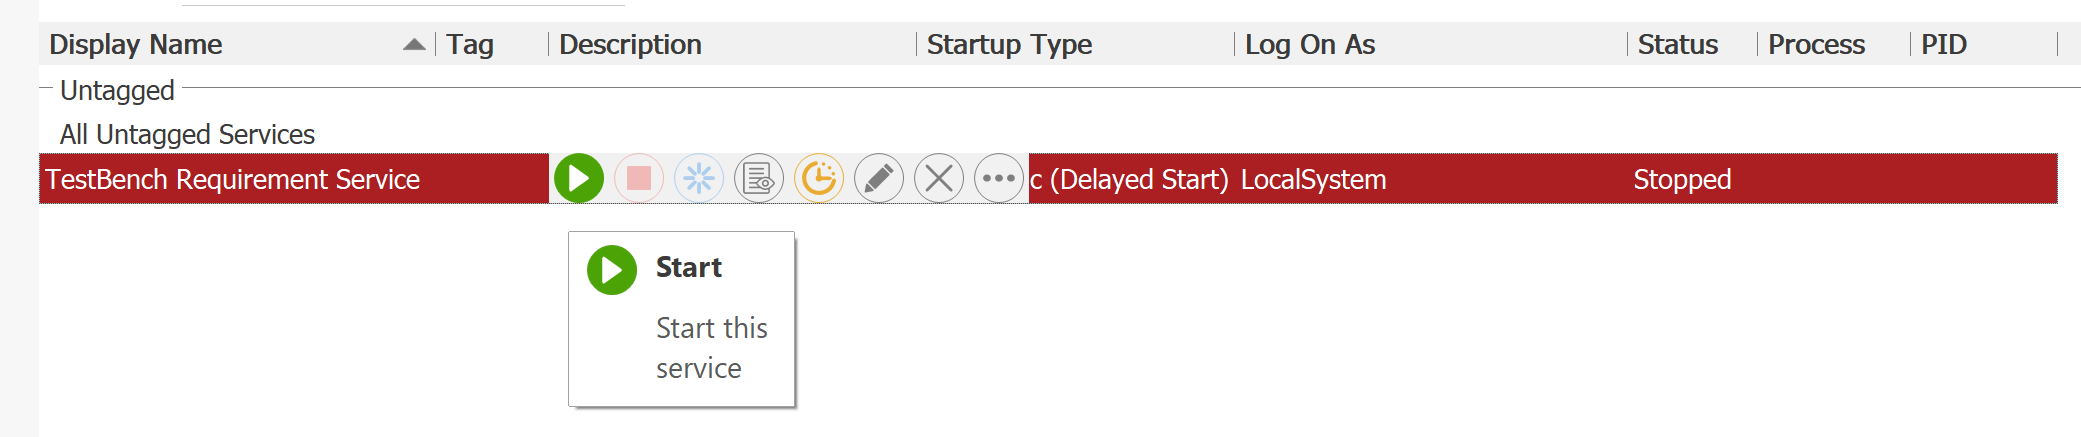
- Start service:
nssm start <serviceName>
- Check status:
nssm status <serviceName>
- Edit service:
nssm edit <serviceName>
- Restart service:
nssm restart <serviceName>
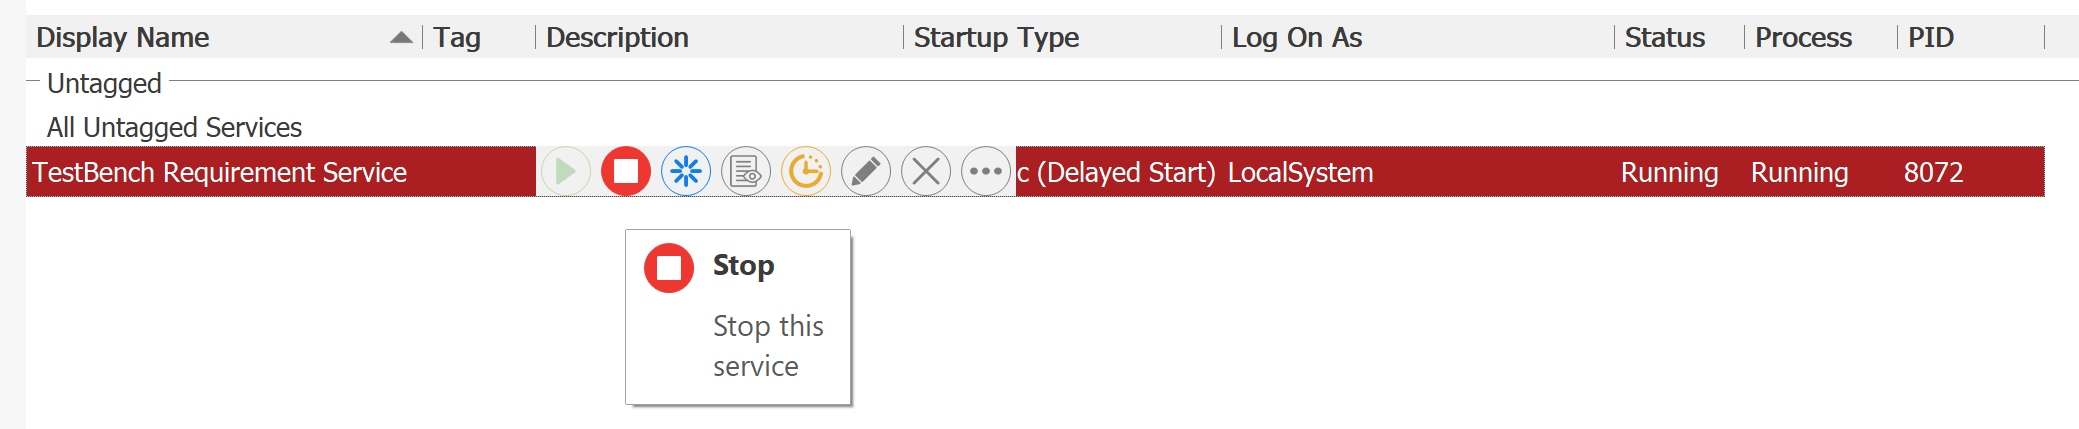
- Stop service:
nssm stop <serviceName>
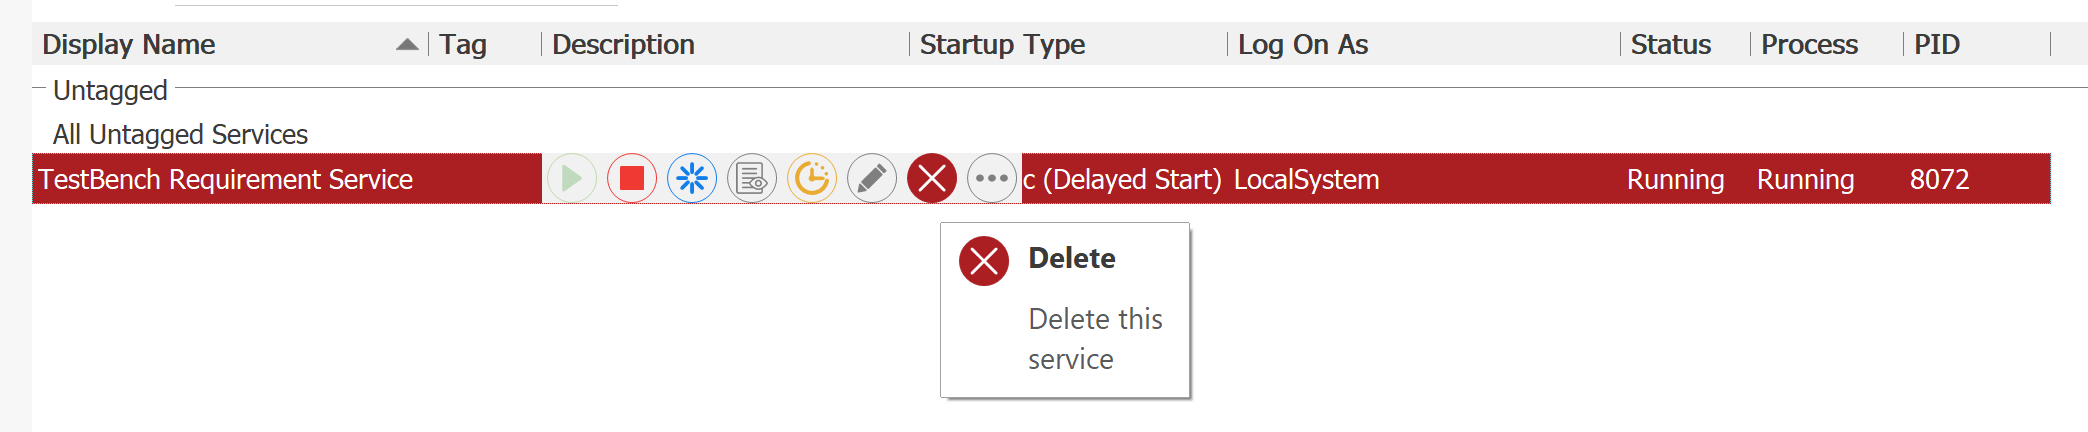
- Remove service:
nssm remove <serviceName>
Option 2: FireDaemon
Installation Steps
-
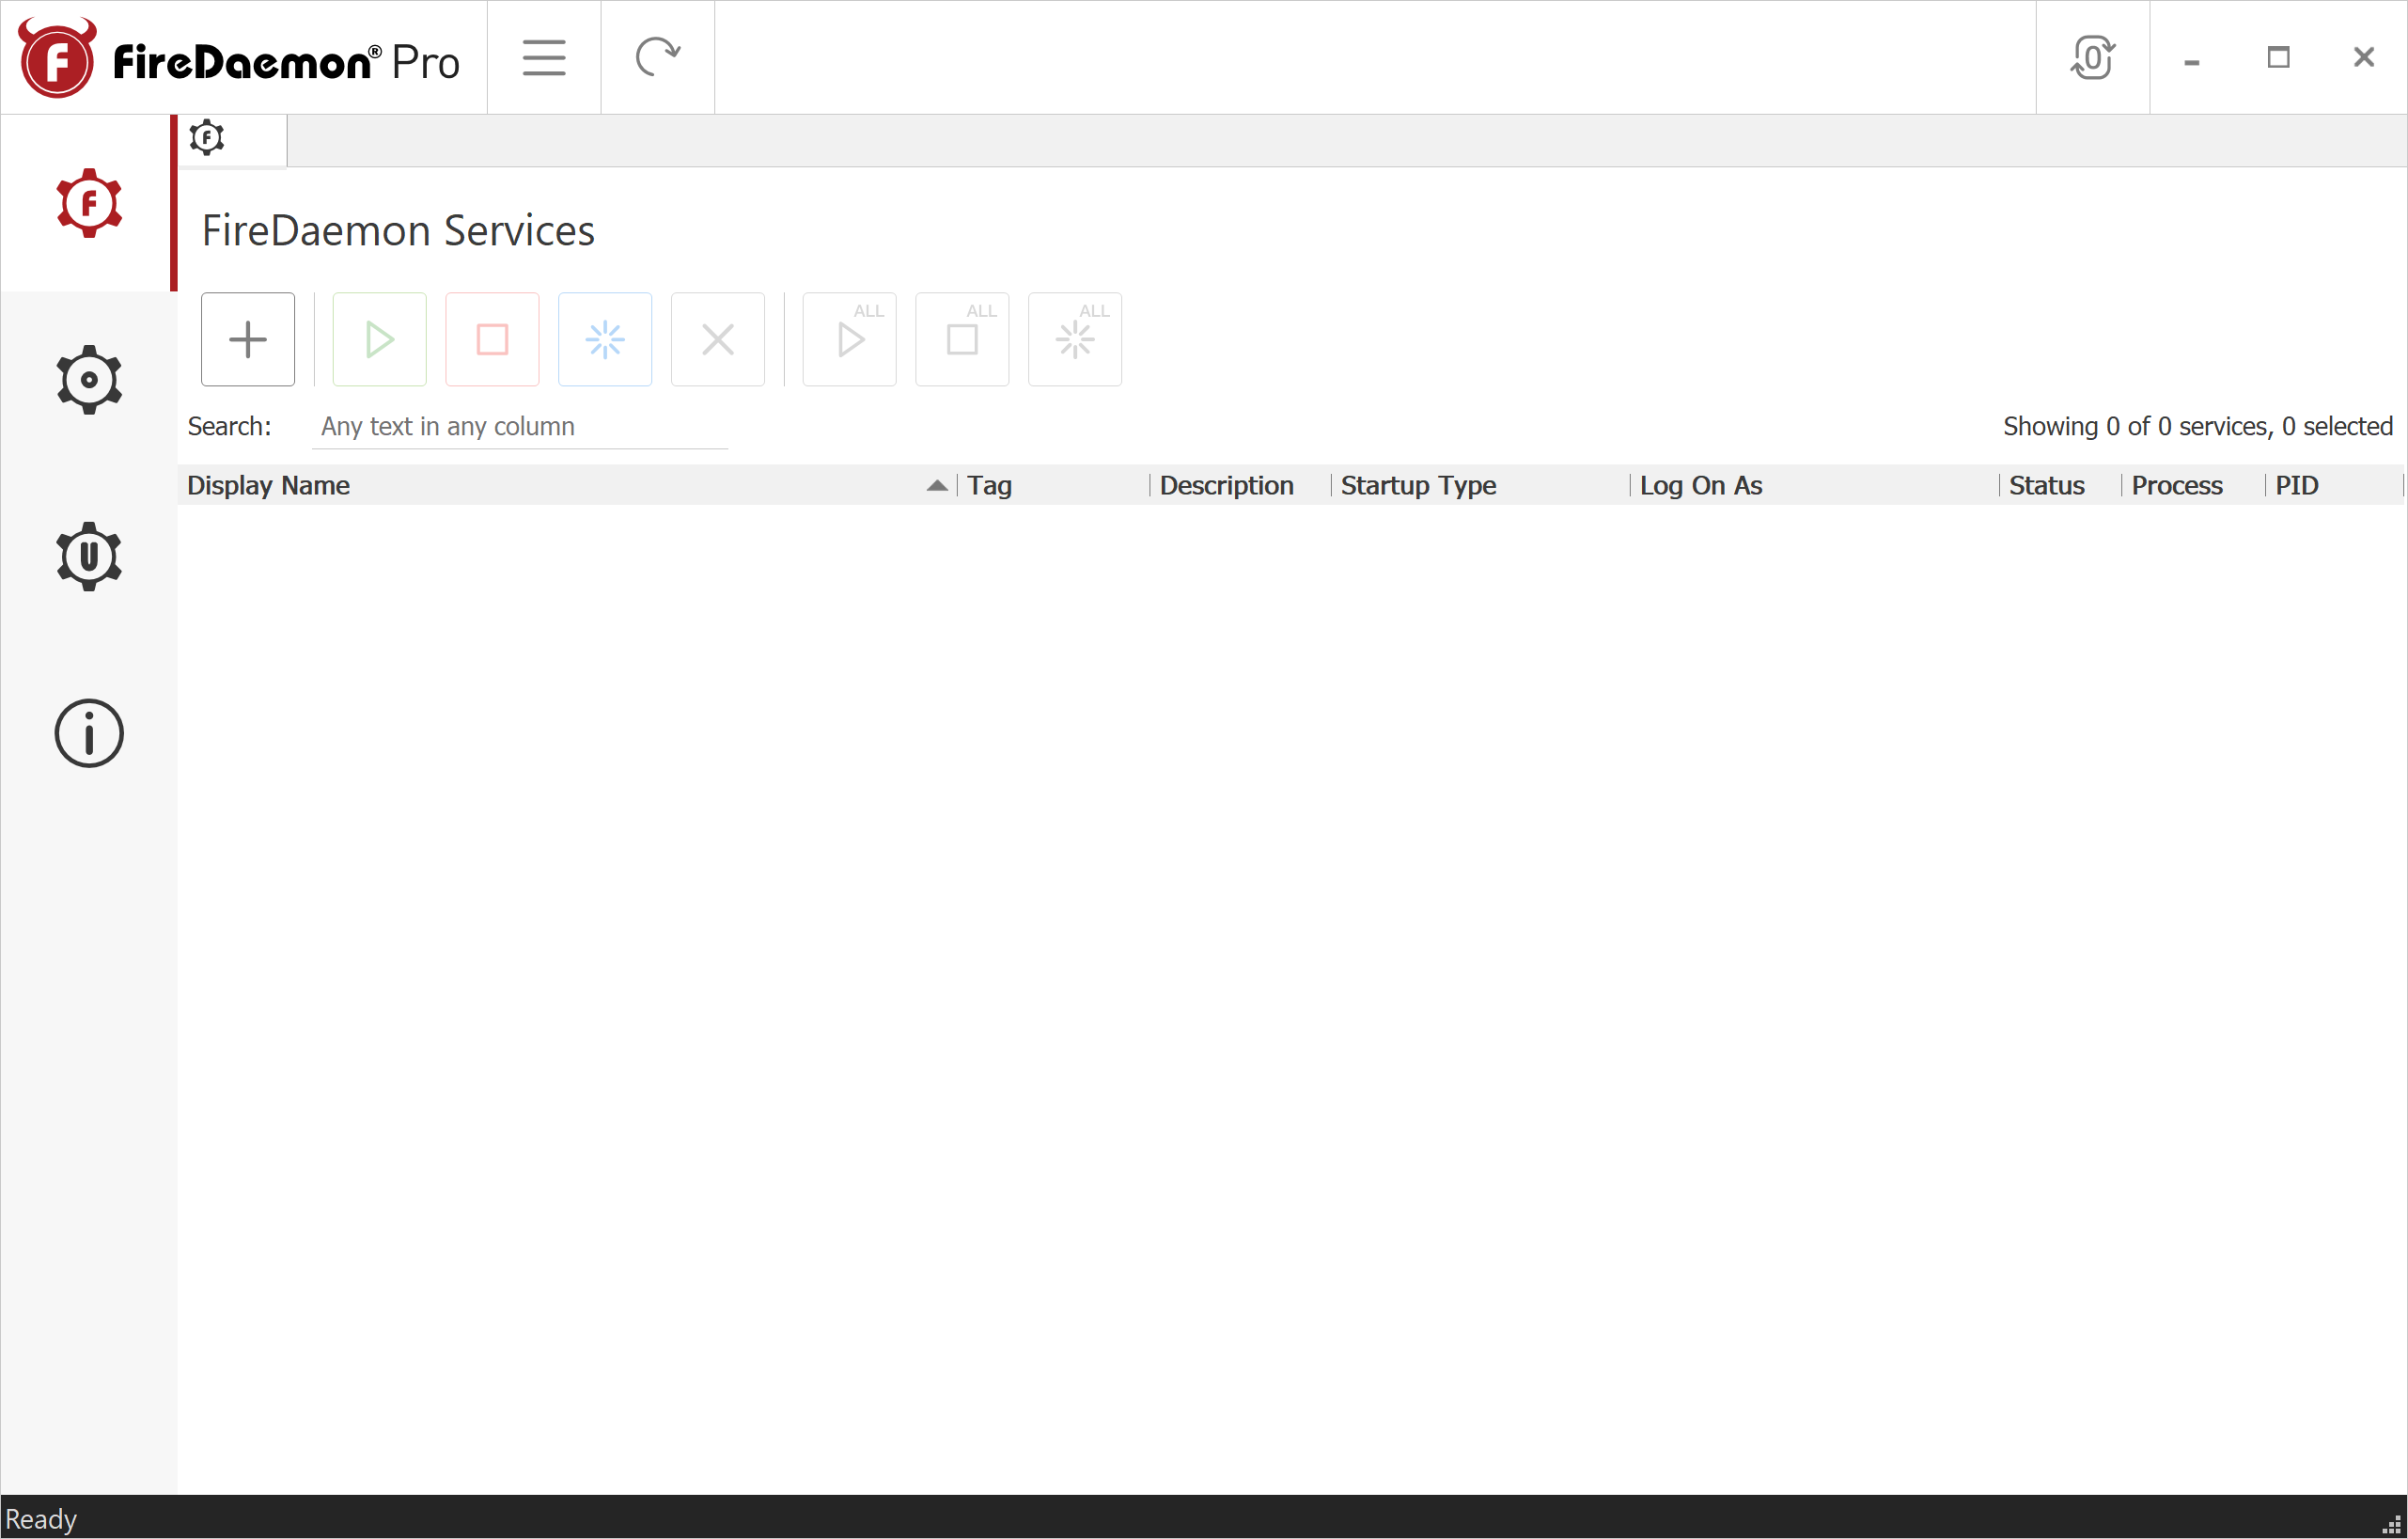
Open FireDaemon Pro as Administrator.
-
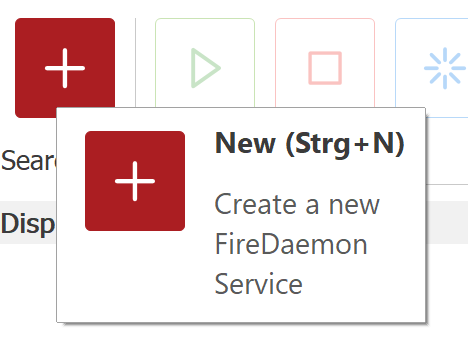
Click the Plus icon (New) or press Ctrl+N to create a new service.
-
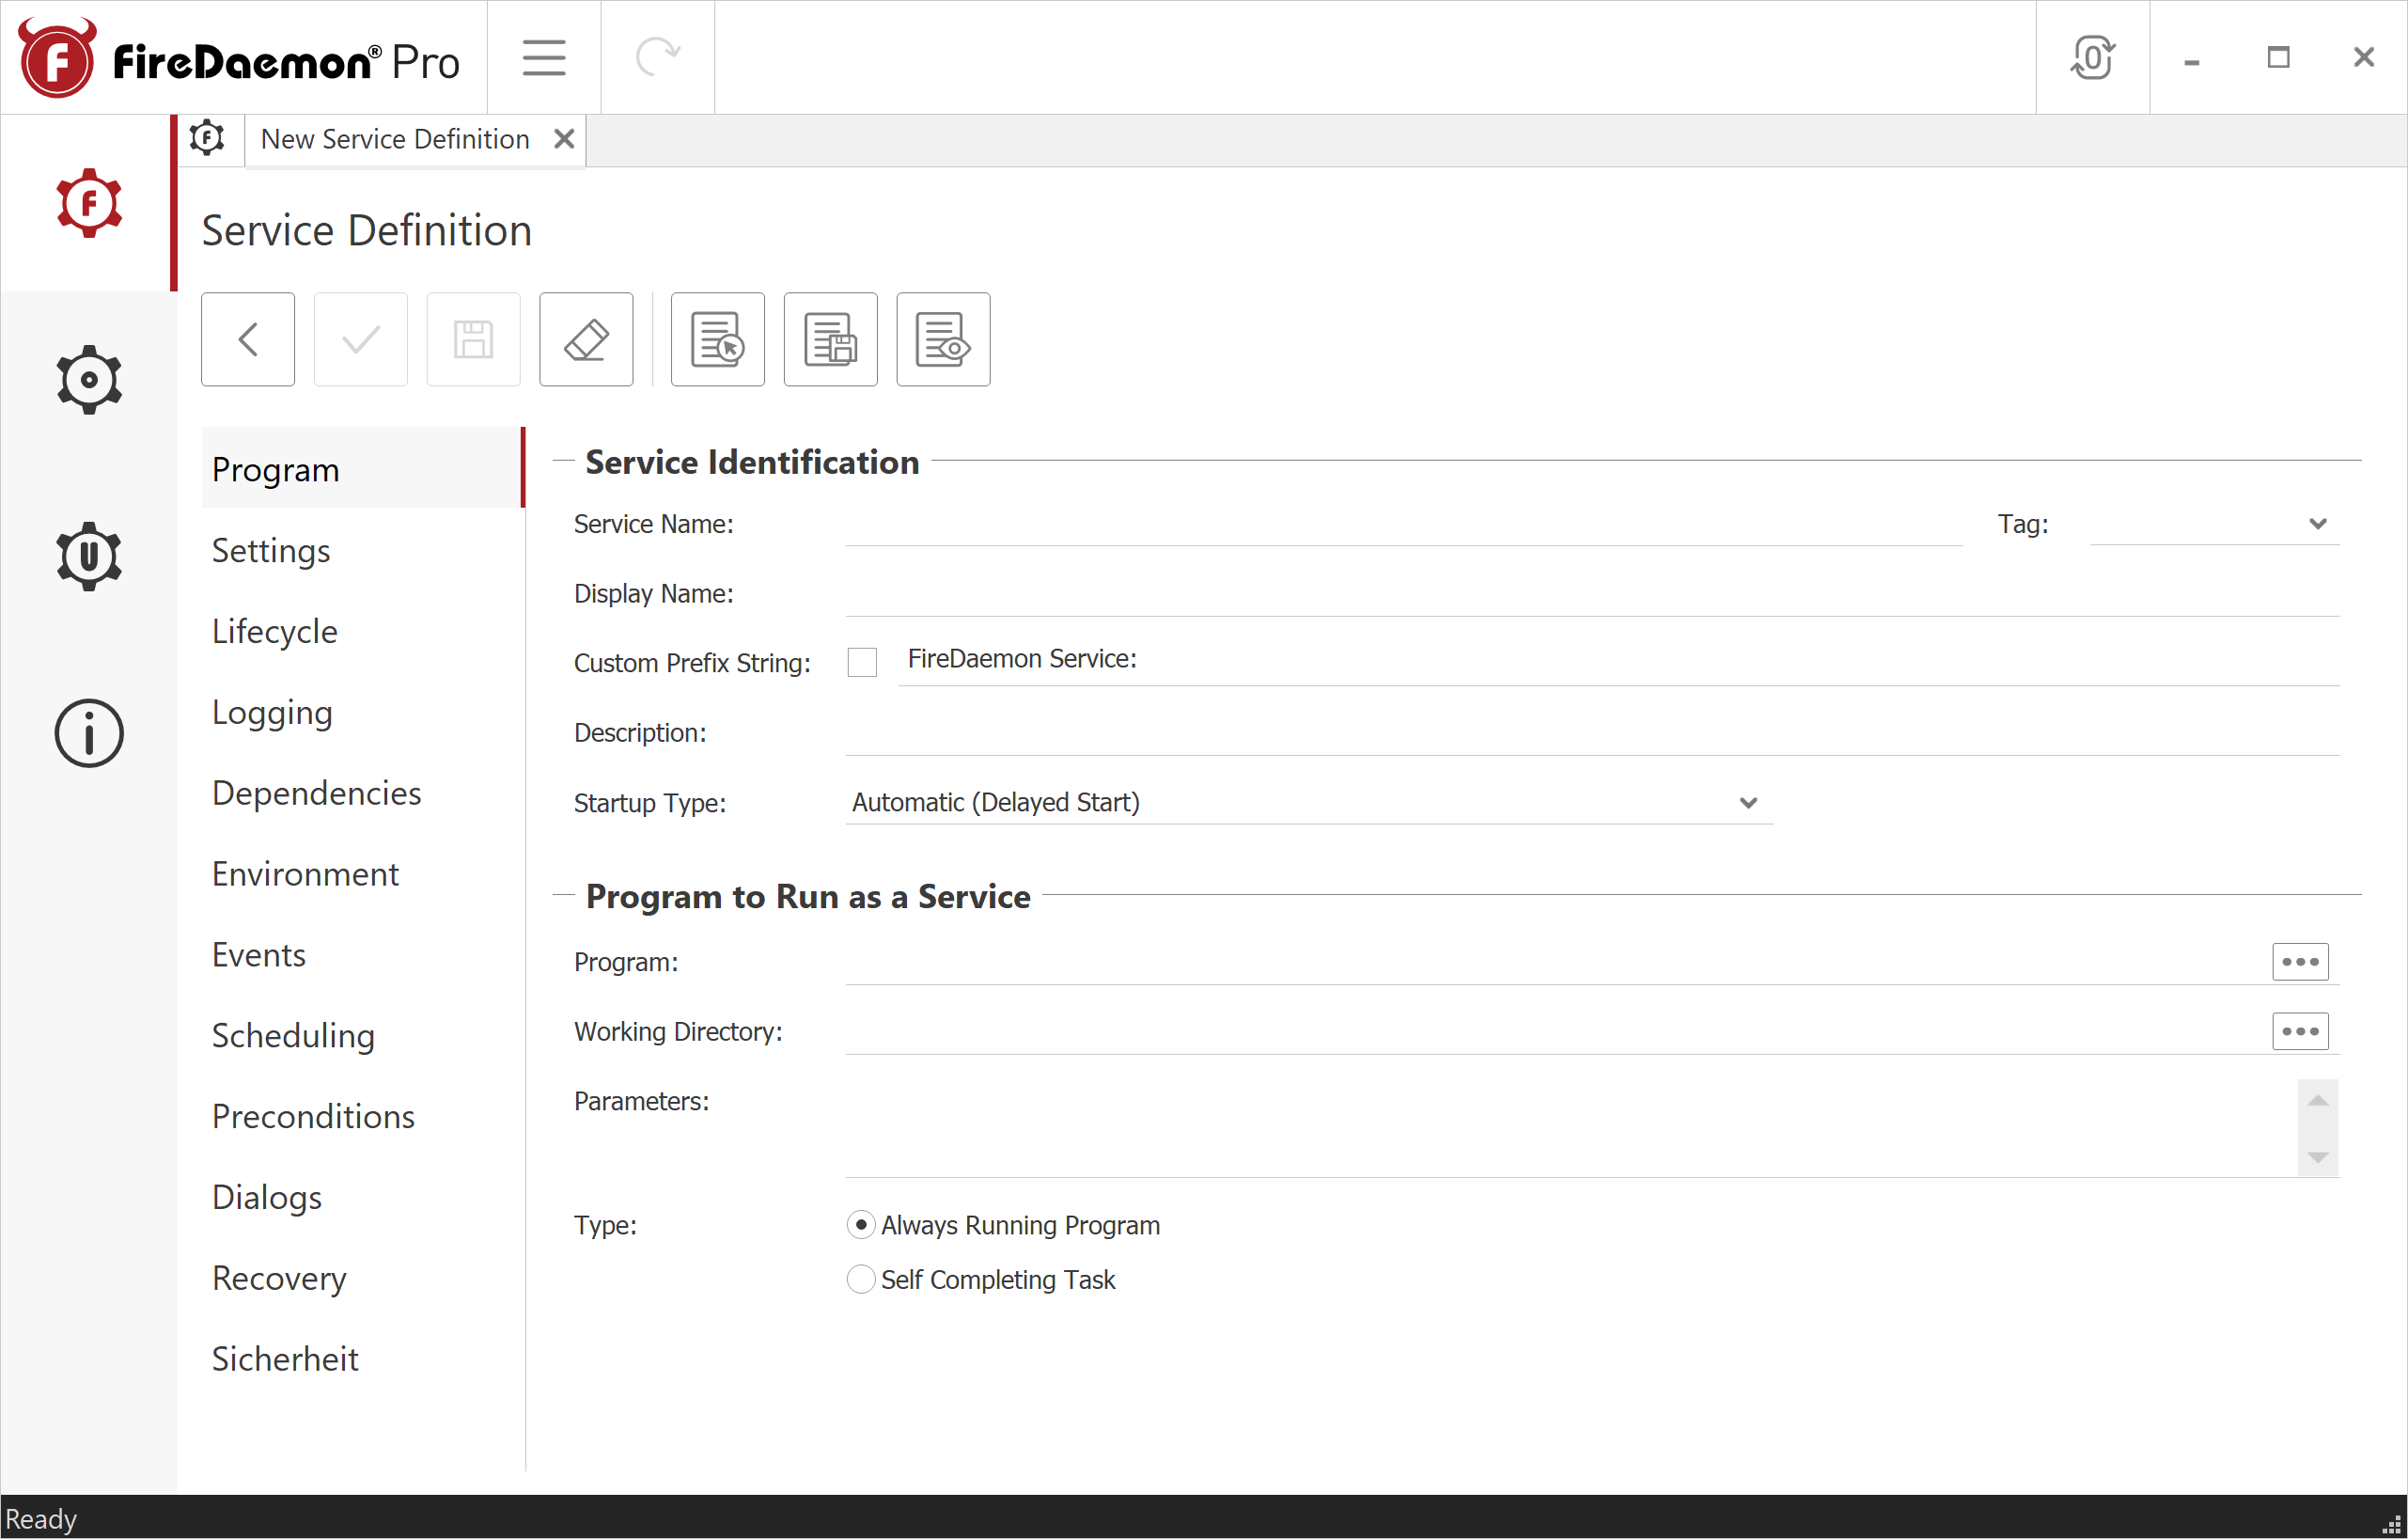
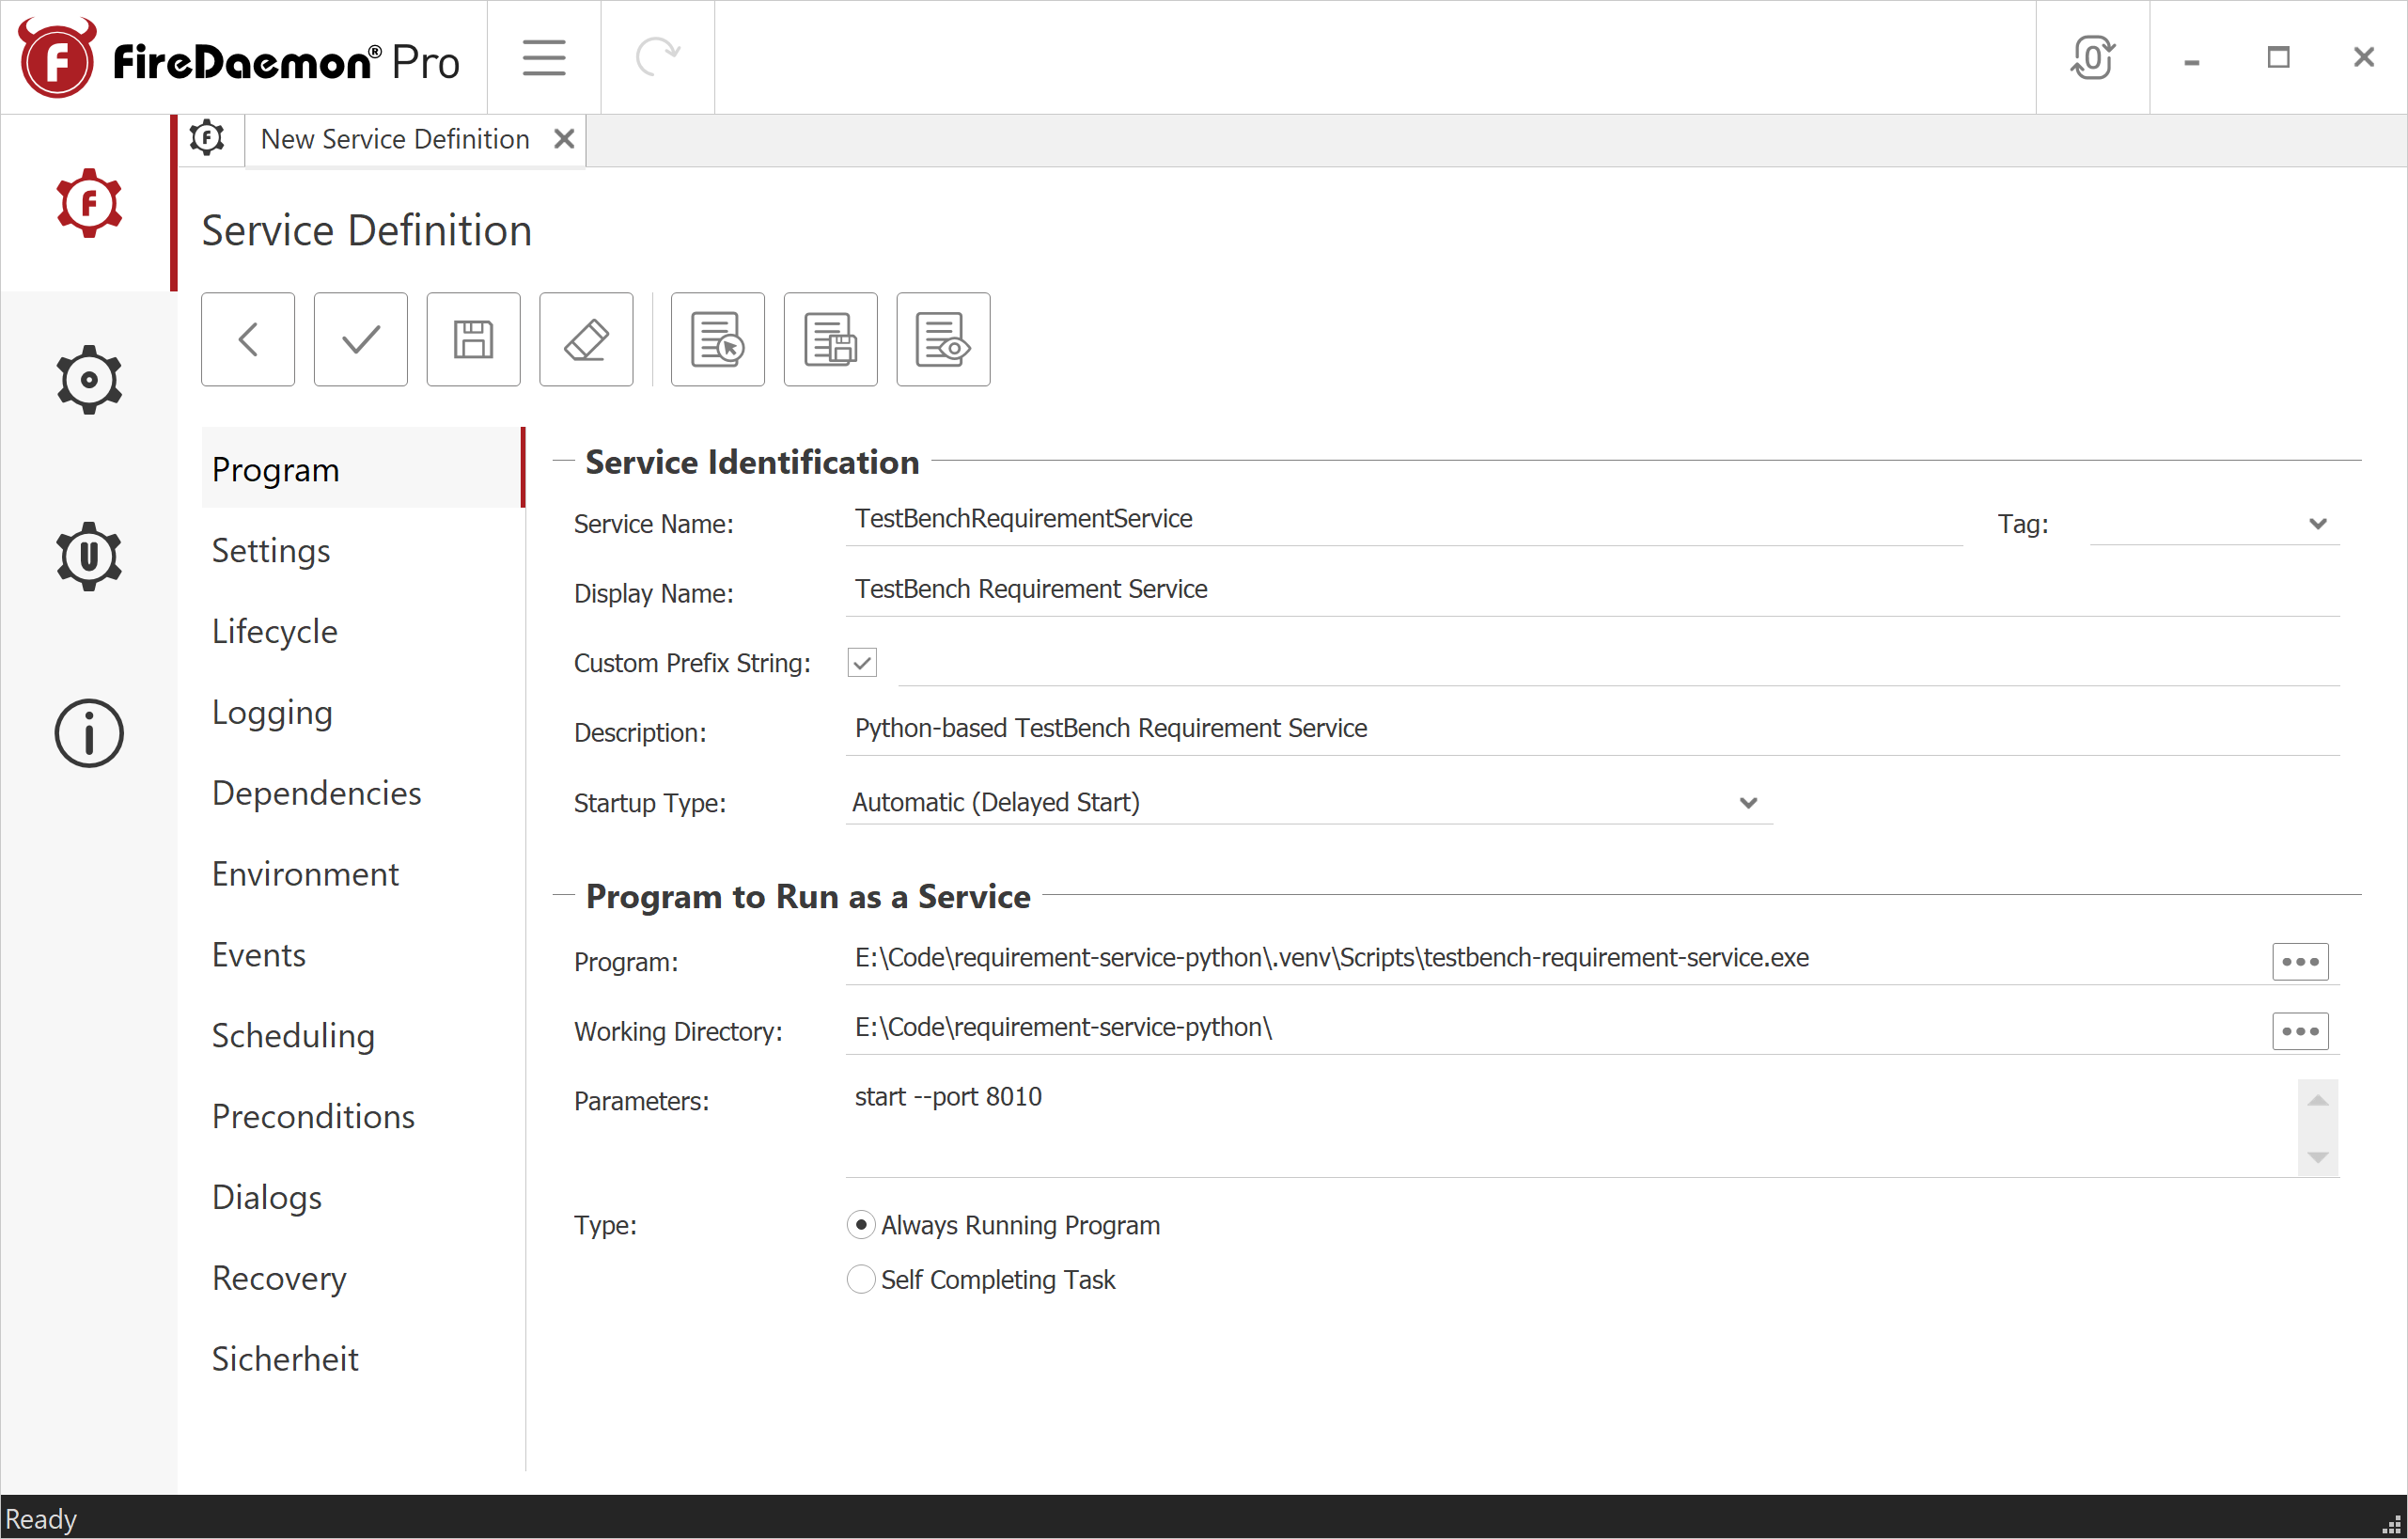
Configure the following in the Program tab:
Service Identification:
- Service Name:
<serviceName> - Display Name:
<serviceDisplayName> - Custom Prefix String: Enable checkbox and leave field empty
- Description:
Python-based <serviceDisplayName> - Startup Type:
Automatic (Delayed Start)
Program to Run as a Service:
- Program: Path to the service executable
e.g.,
<serviceInstallDir>\.venv\Scripts\<serviceExecutable> - Working Directory: Path to the root directory containing configuration files
e.g.,
<serviceInstallDir>\ - Parameters: Startup parameters
e.g.,
start --port <servicePort> - Type:
Always Running Program
- Service Name:
-
Configure the following in the Settings tab:
General:
- Show Window:
Hidden - Job Type:
Global
Logon:
- Configure if a specific account should run the service.
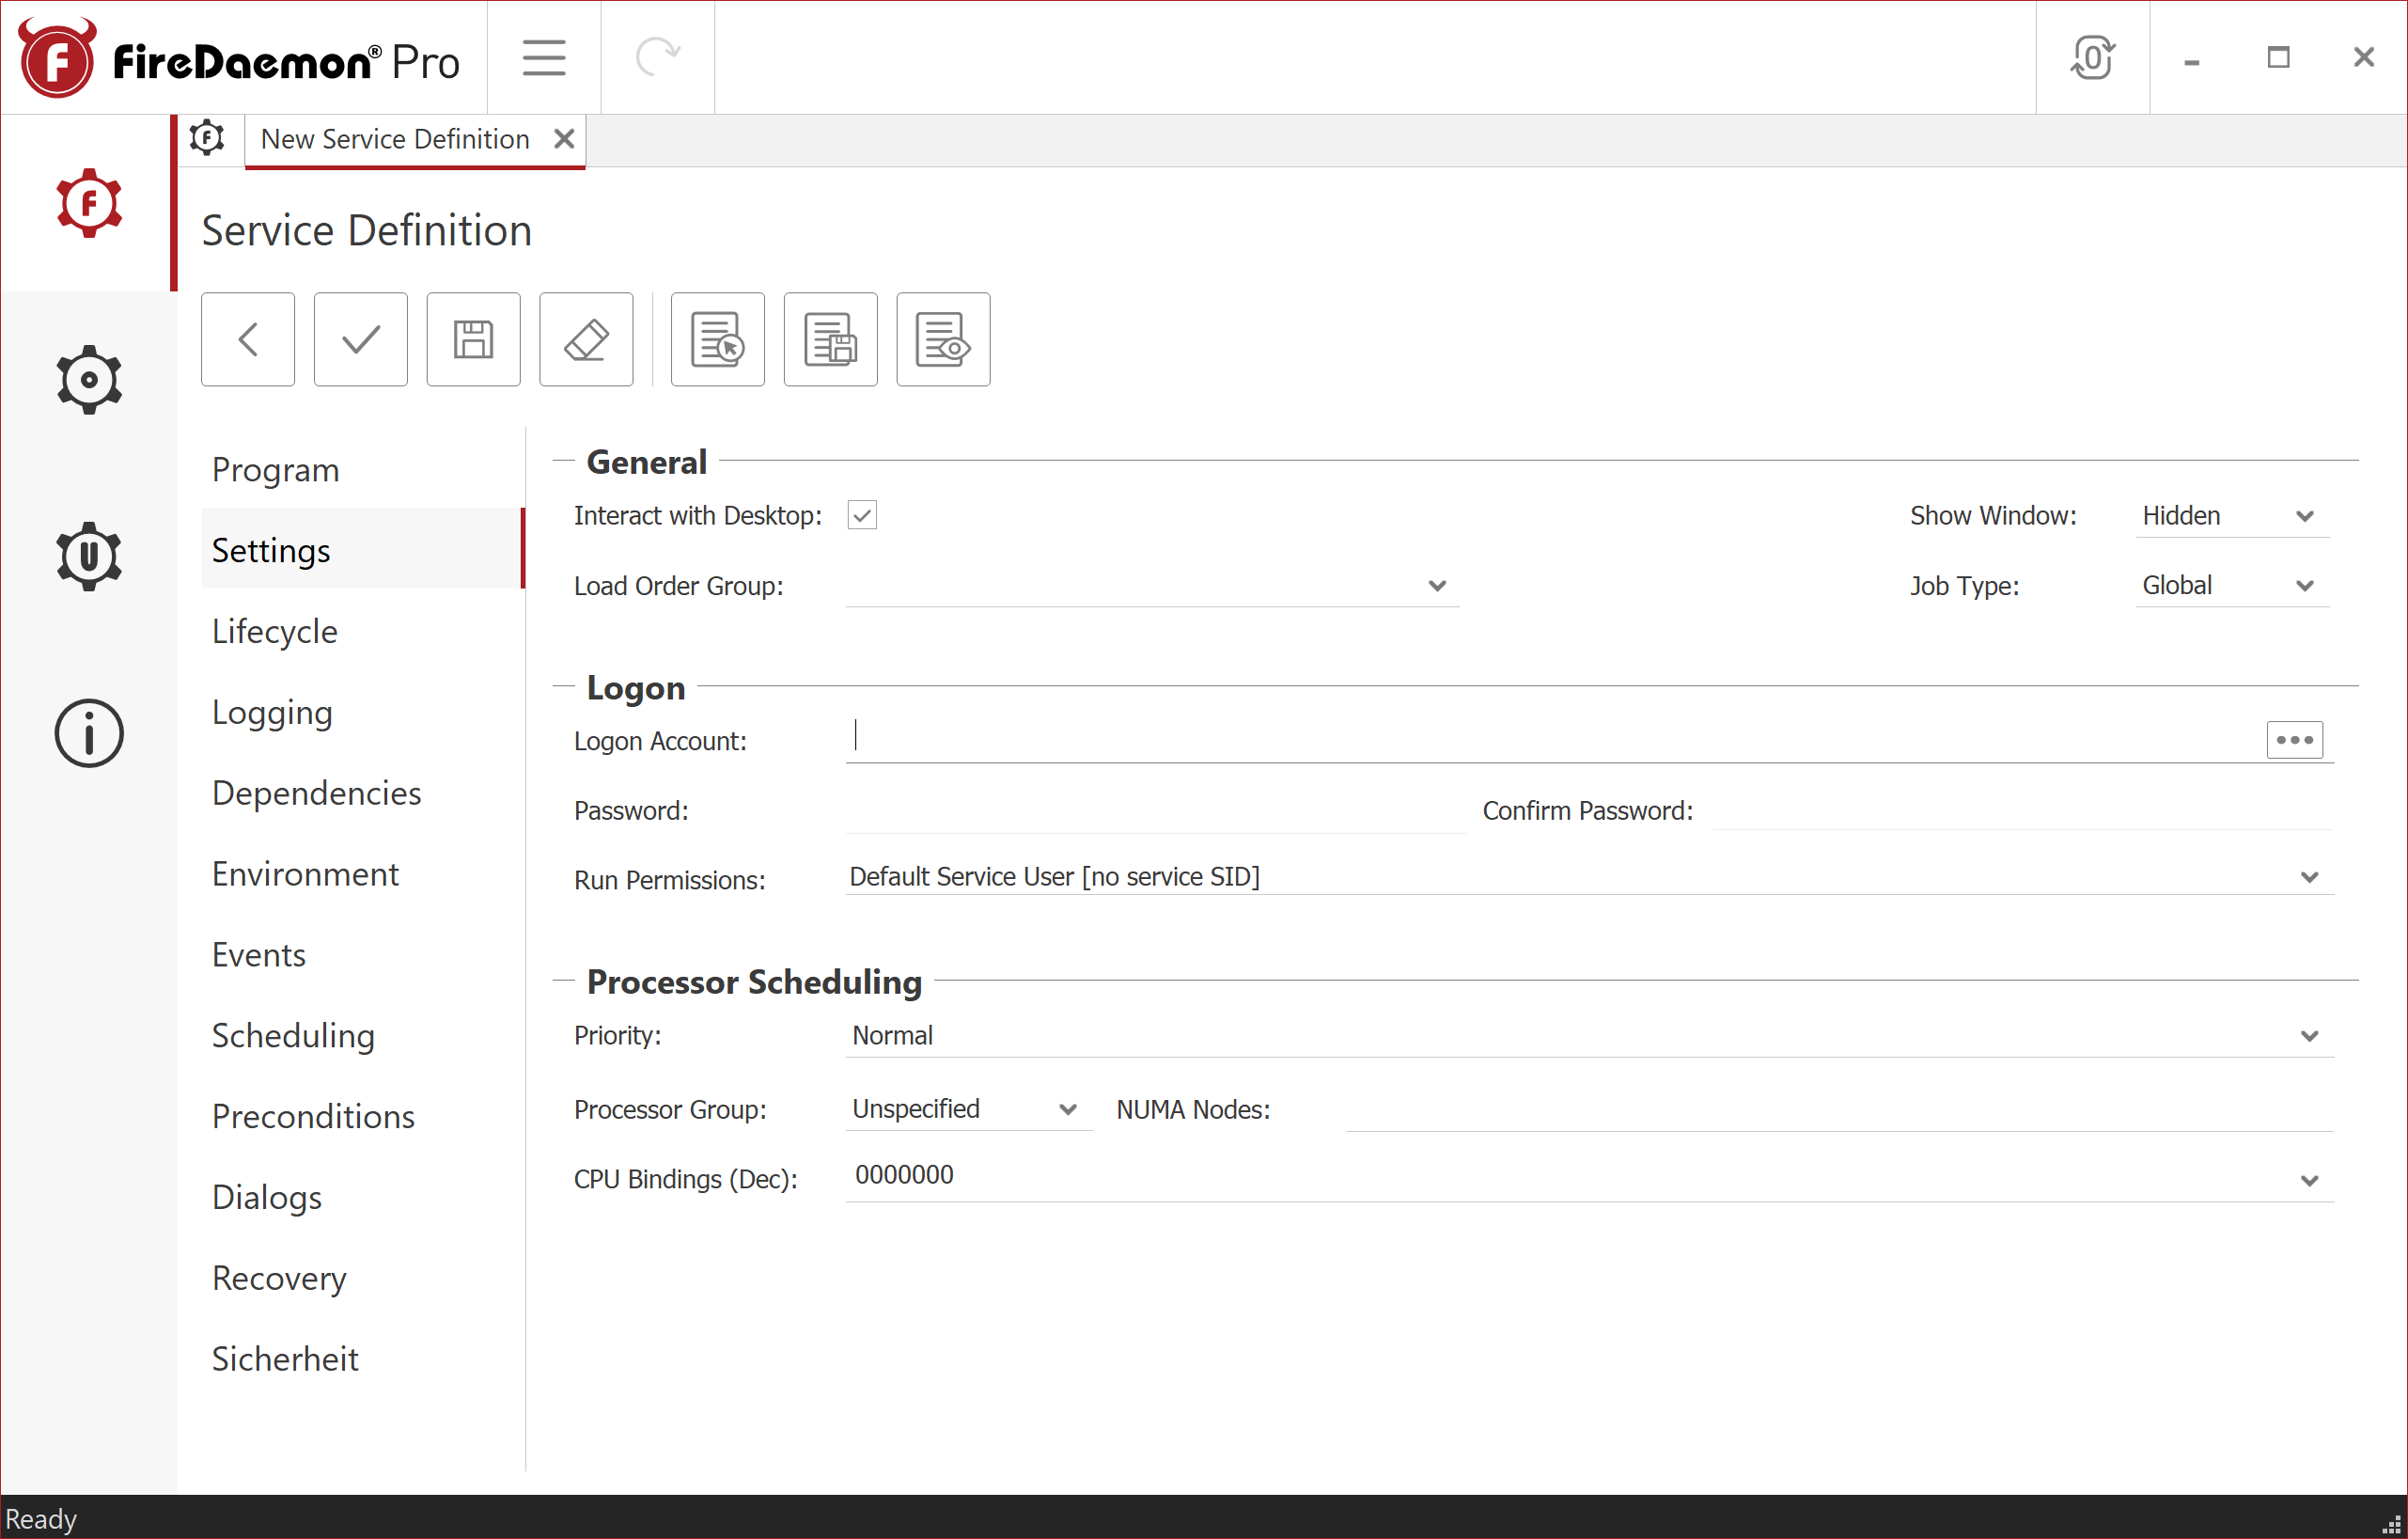
- Show Window:
-
Configure the following in the Lifecycle tab:
Lifecycle:
- Upon Program Exit:
Stop FireDaemon Service - Console Program:
True - Shutdown By:
Ctrl+CorForceful Termination
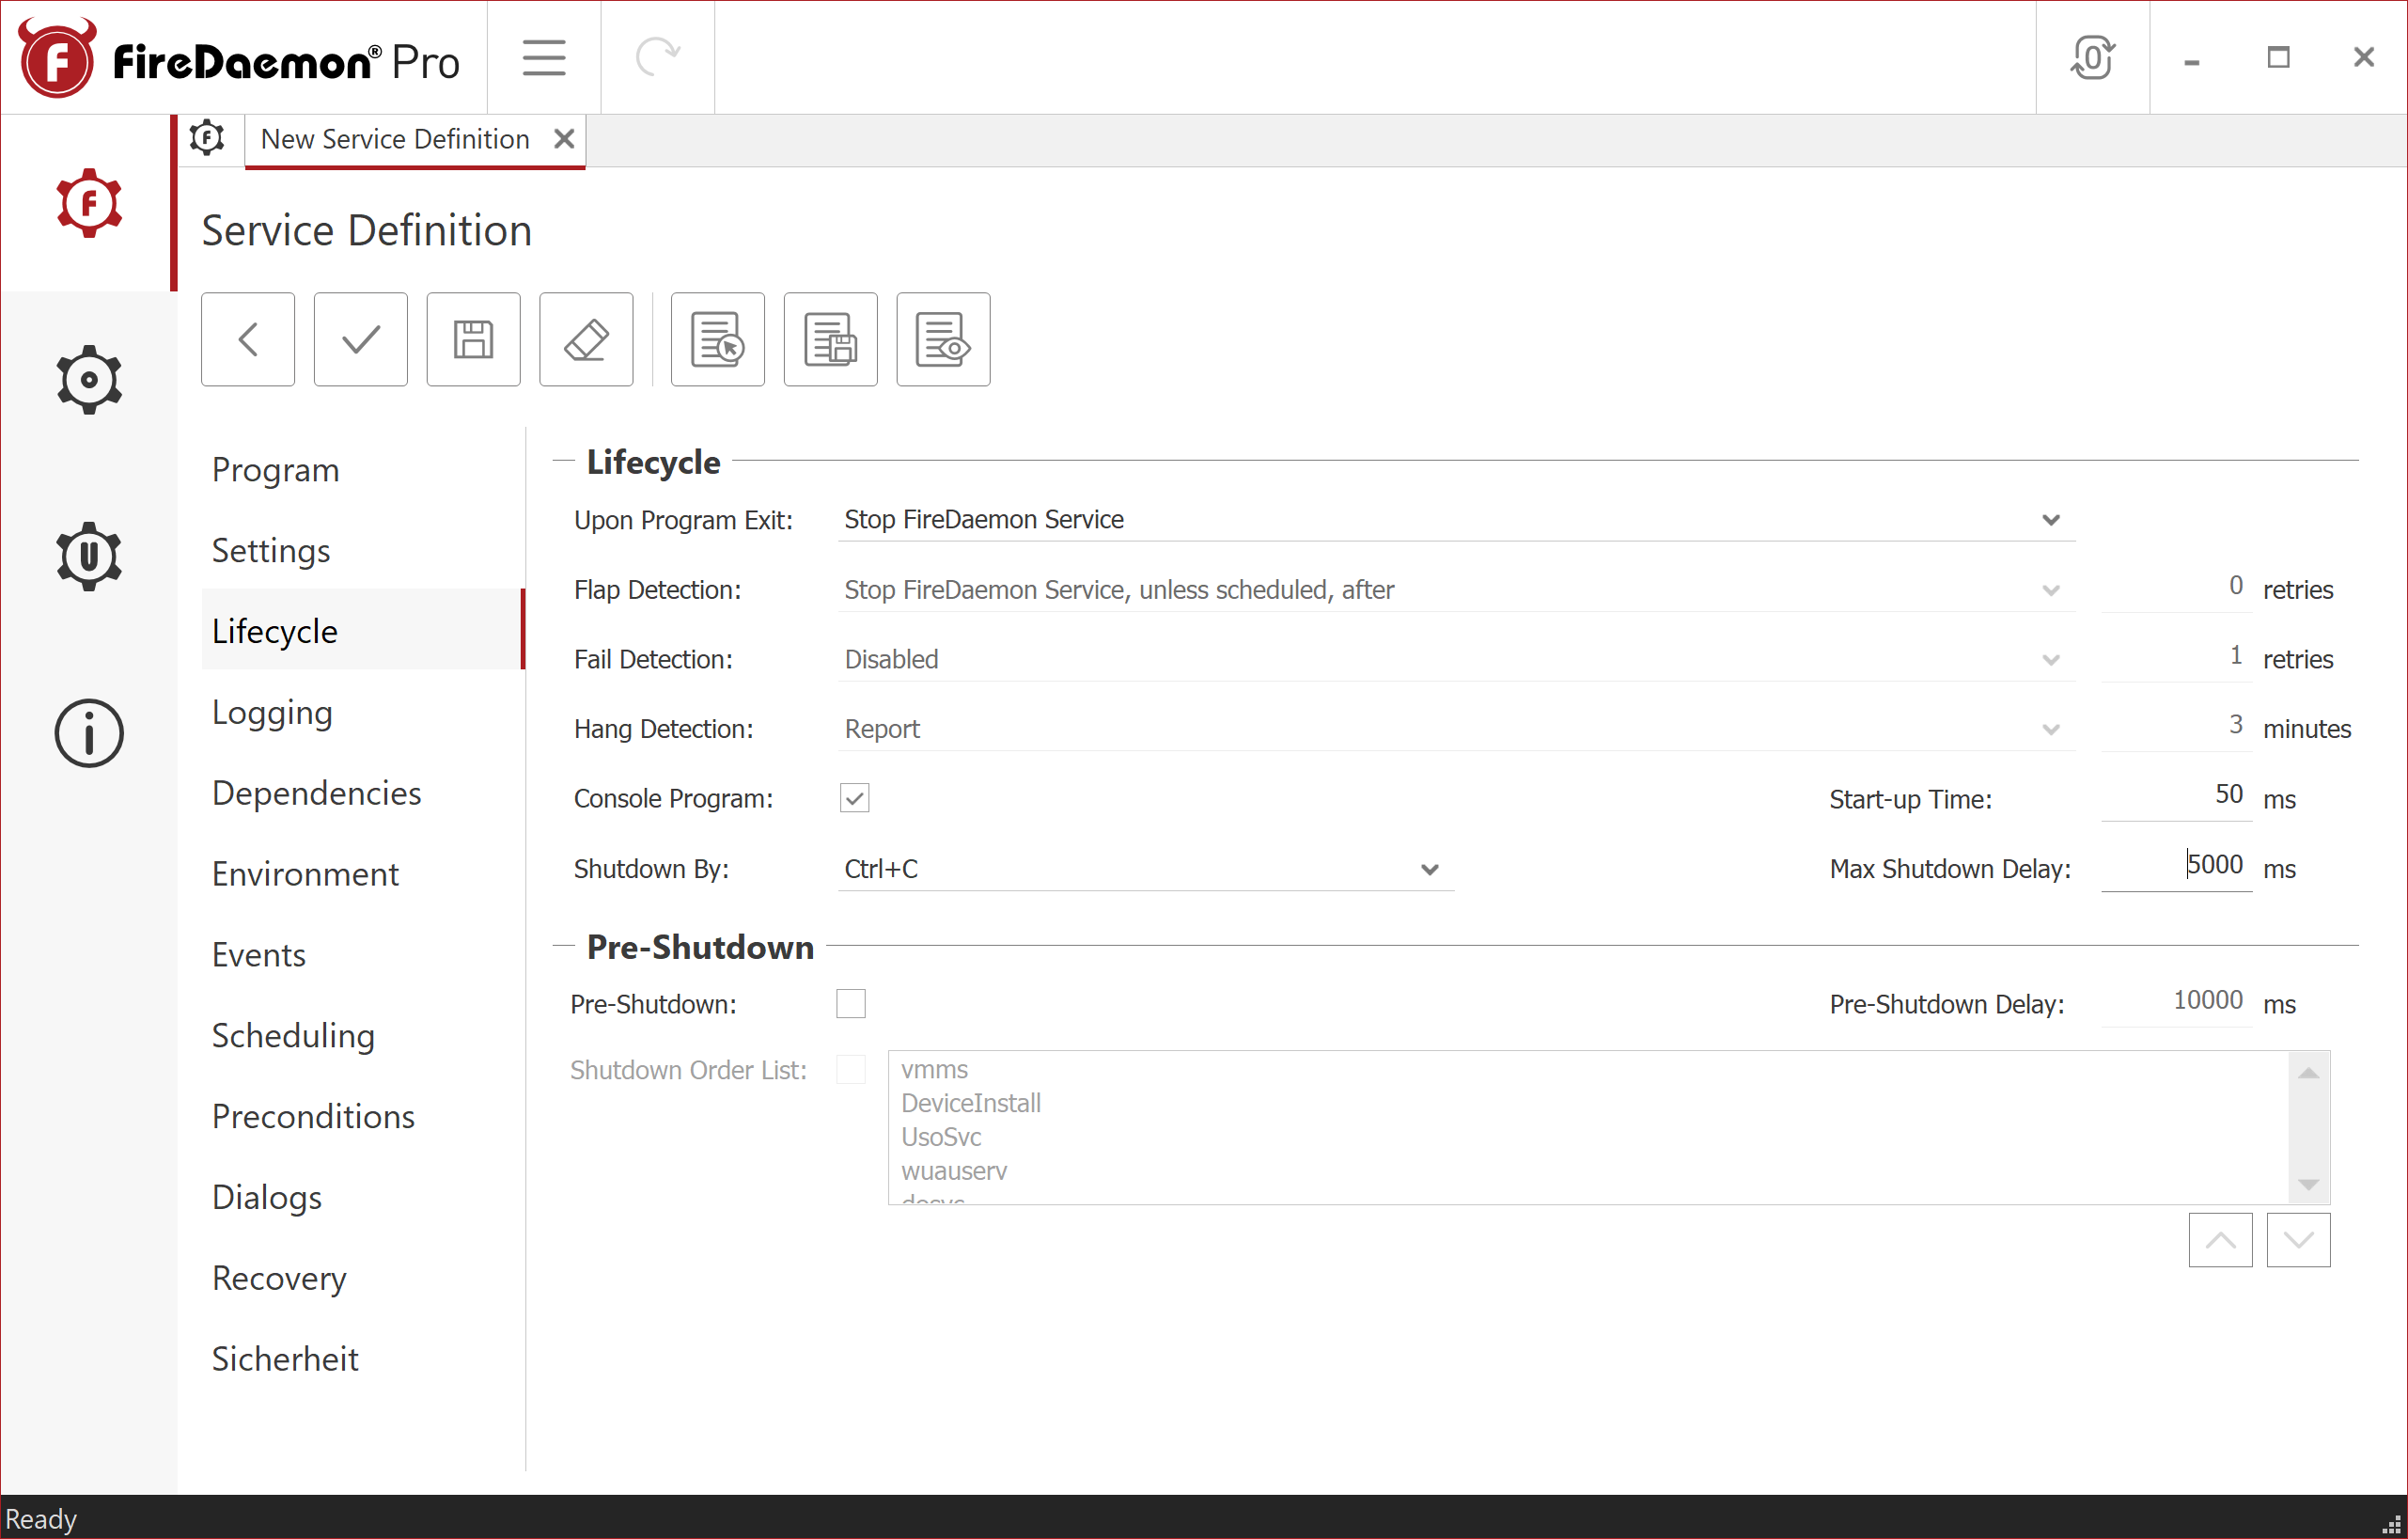
- Upon Program Exit:
-
Configure the following in the Logging tab:
Output Capture:
- Capture Stdout in File: Path for stdout logging, e.g.,
<serviceInstallDir>\windows_service.log - Capture Stderr in Stdout:
Trueor specify a separate path for stderr
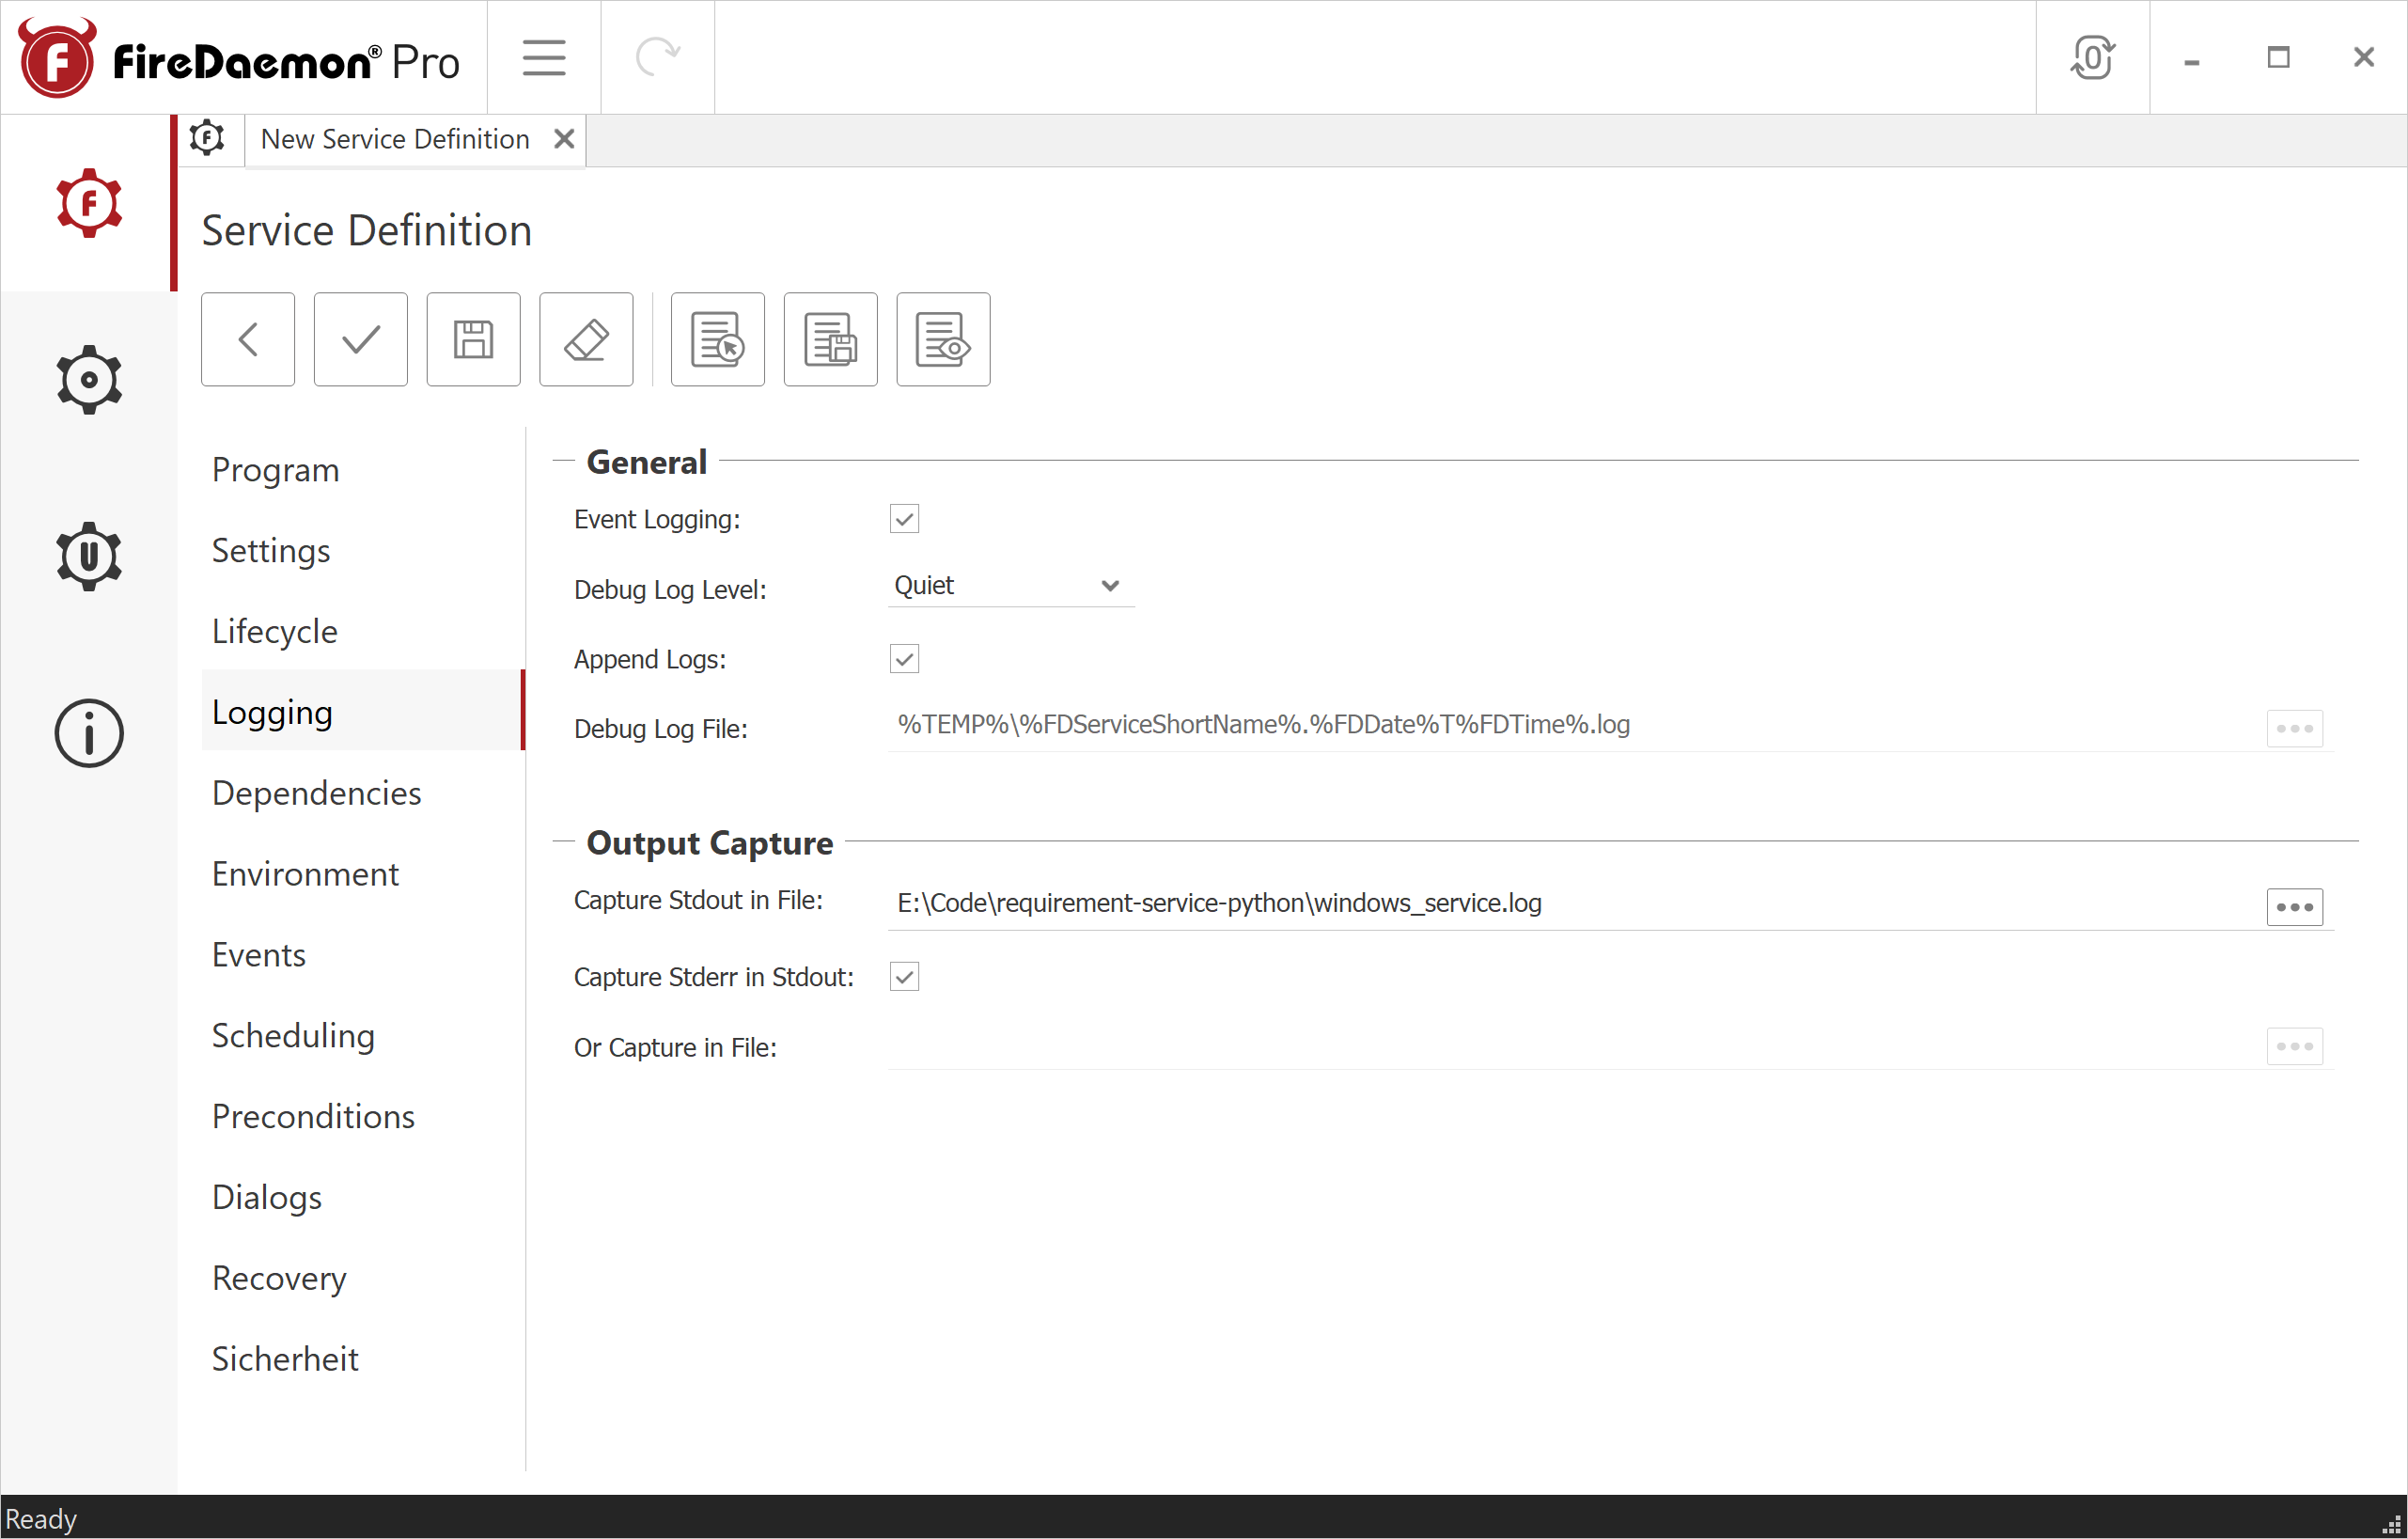
- Capture Stdout in File: Path for stdout logging, e.g.,
-
Optional: In the Dependencies tab, configure dependencies to other services.
-
Optional: In the Environment tab, set environment variables.
-
Optional: In the Events tab, configure start and termination events.
-
Configure the following in the Scheduling tab:
- Overall Launch Delay: e.g.,
60 seconds
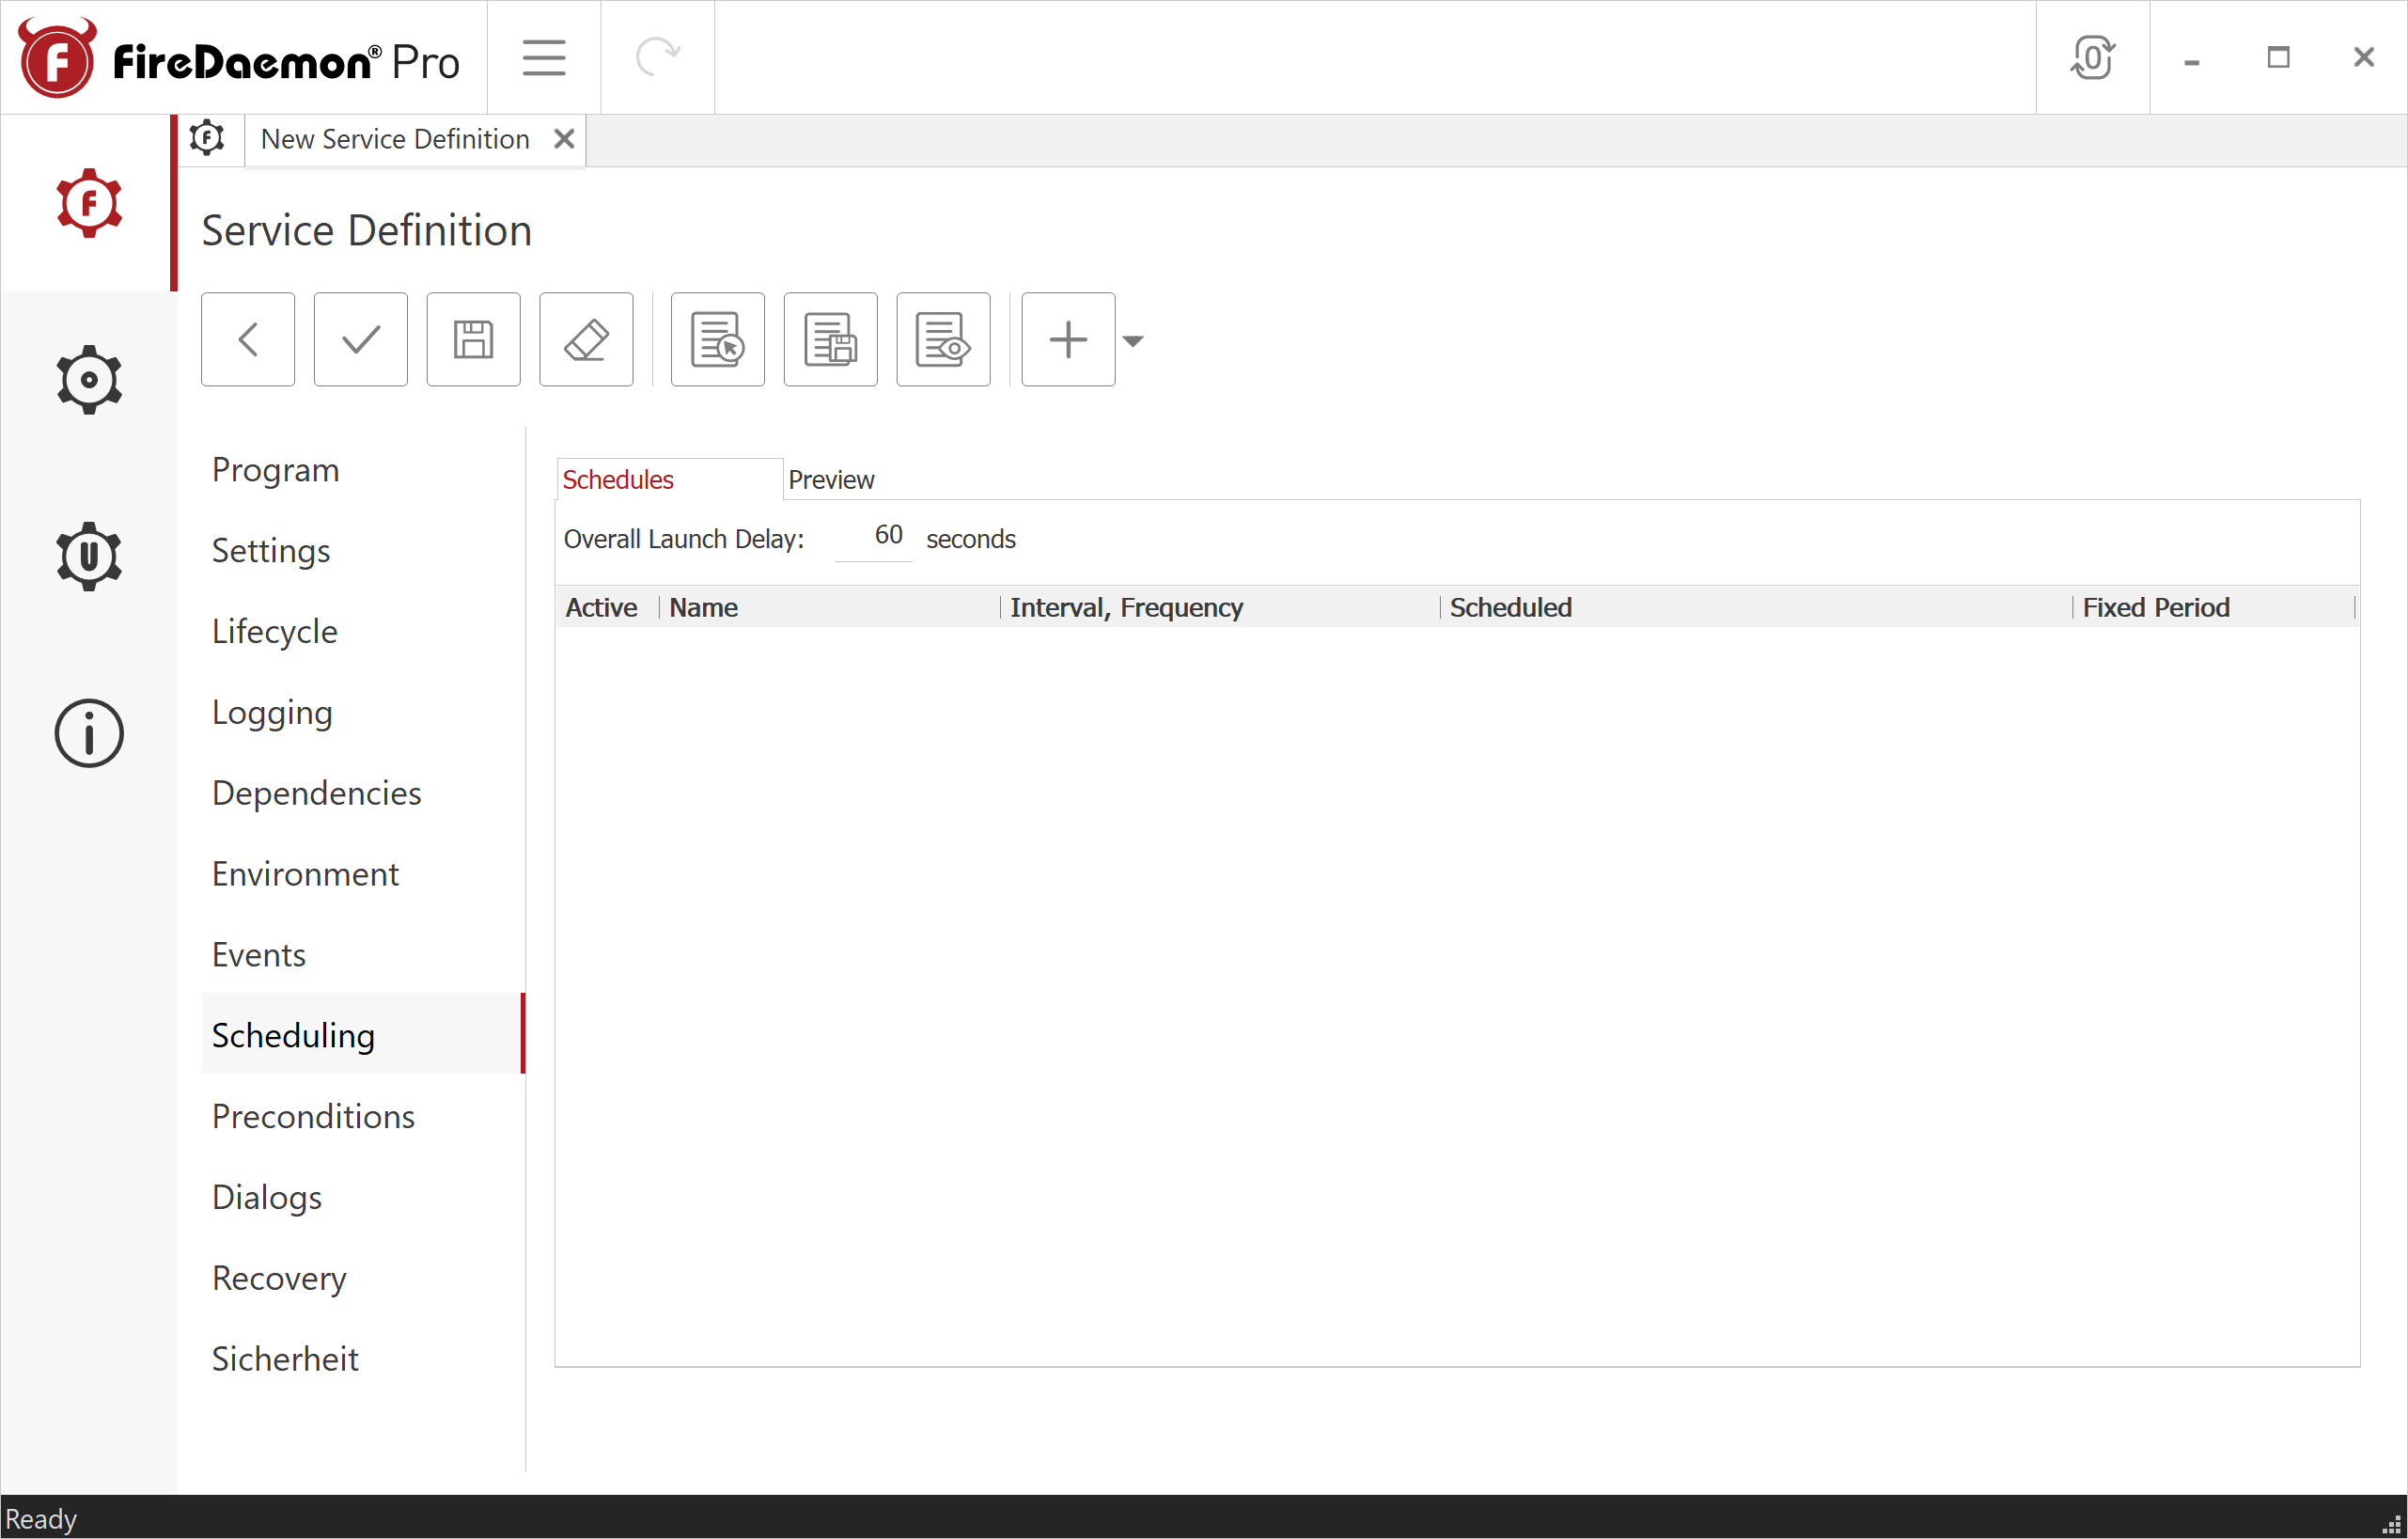
- Overall Launch Delay: e.g.,
-
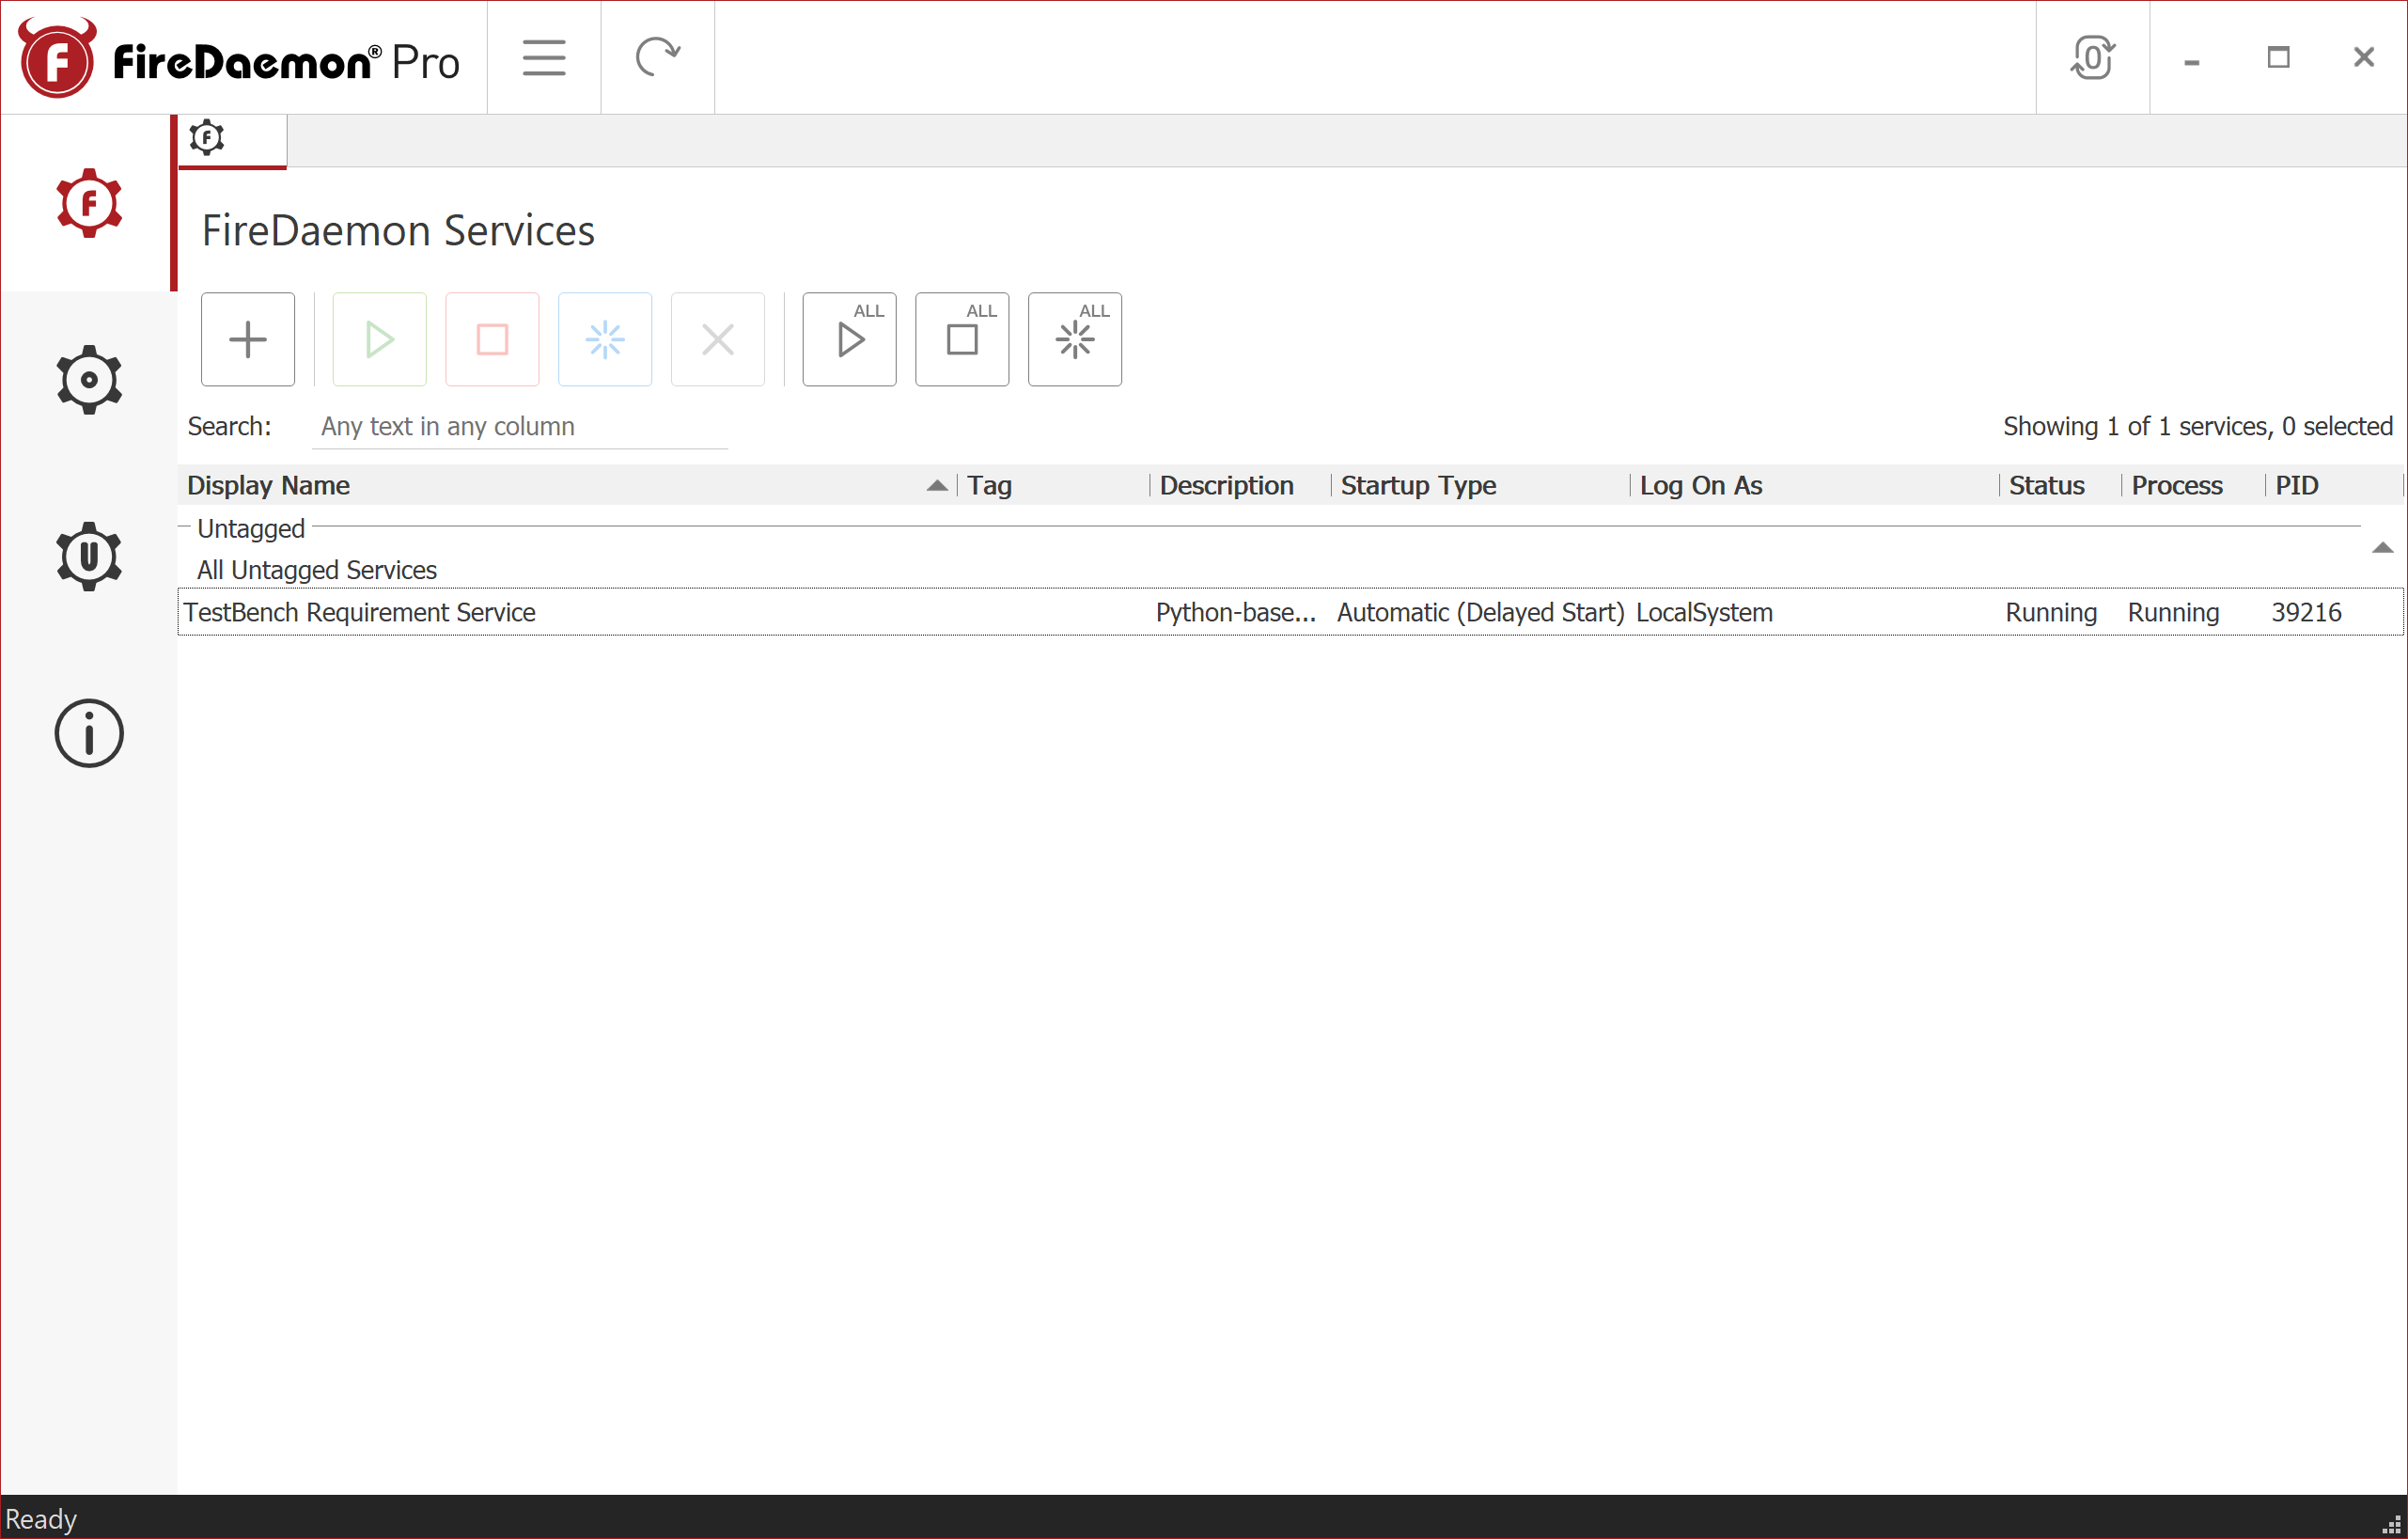
Click the checkmark icon to save the settings and close the service definition.

-
Select the service from the services list and click the Start icon (green play button) to start the service.
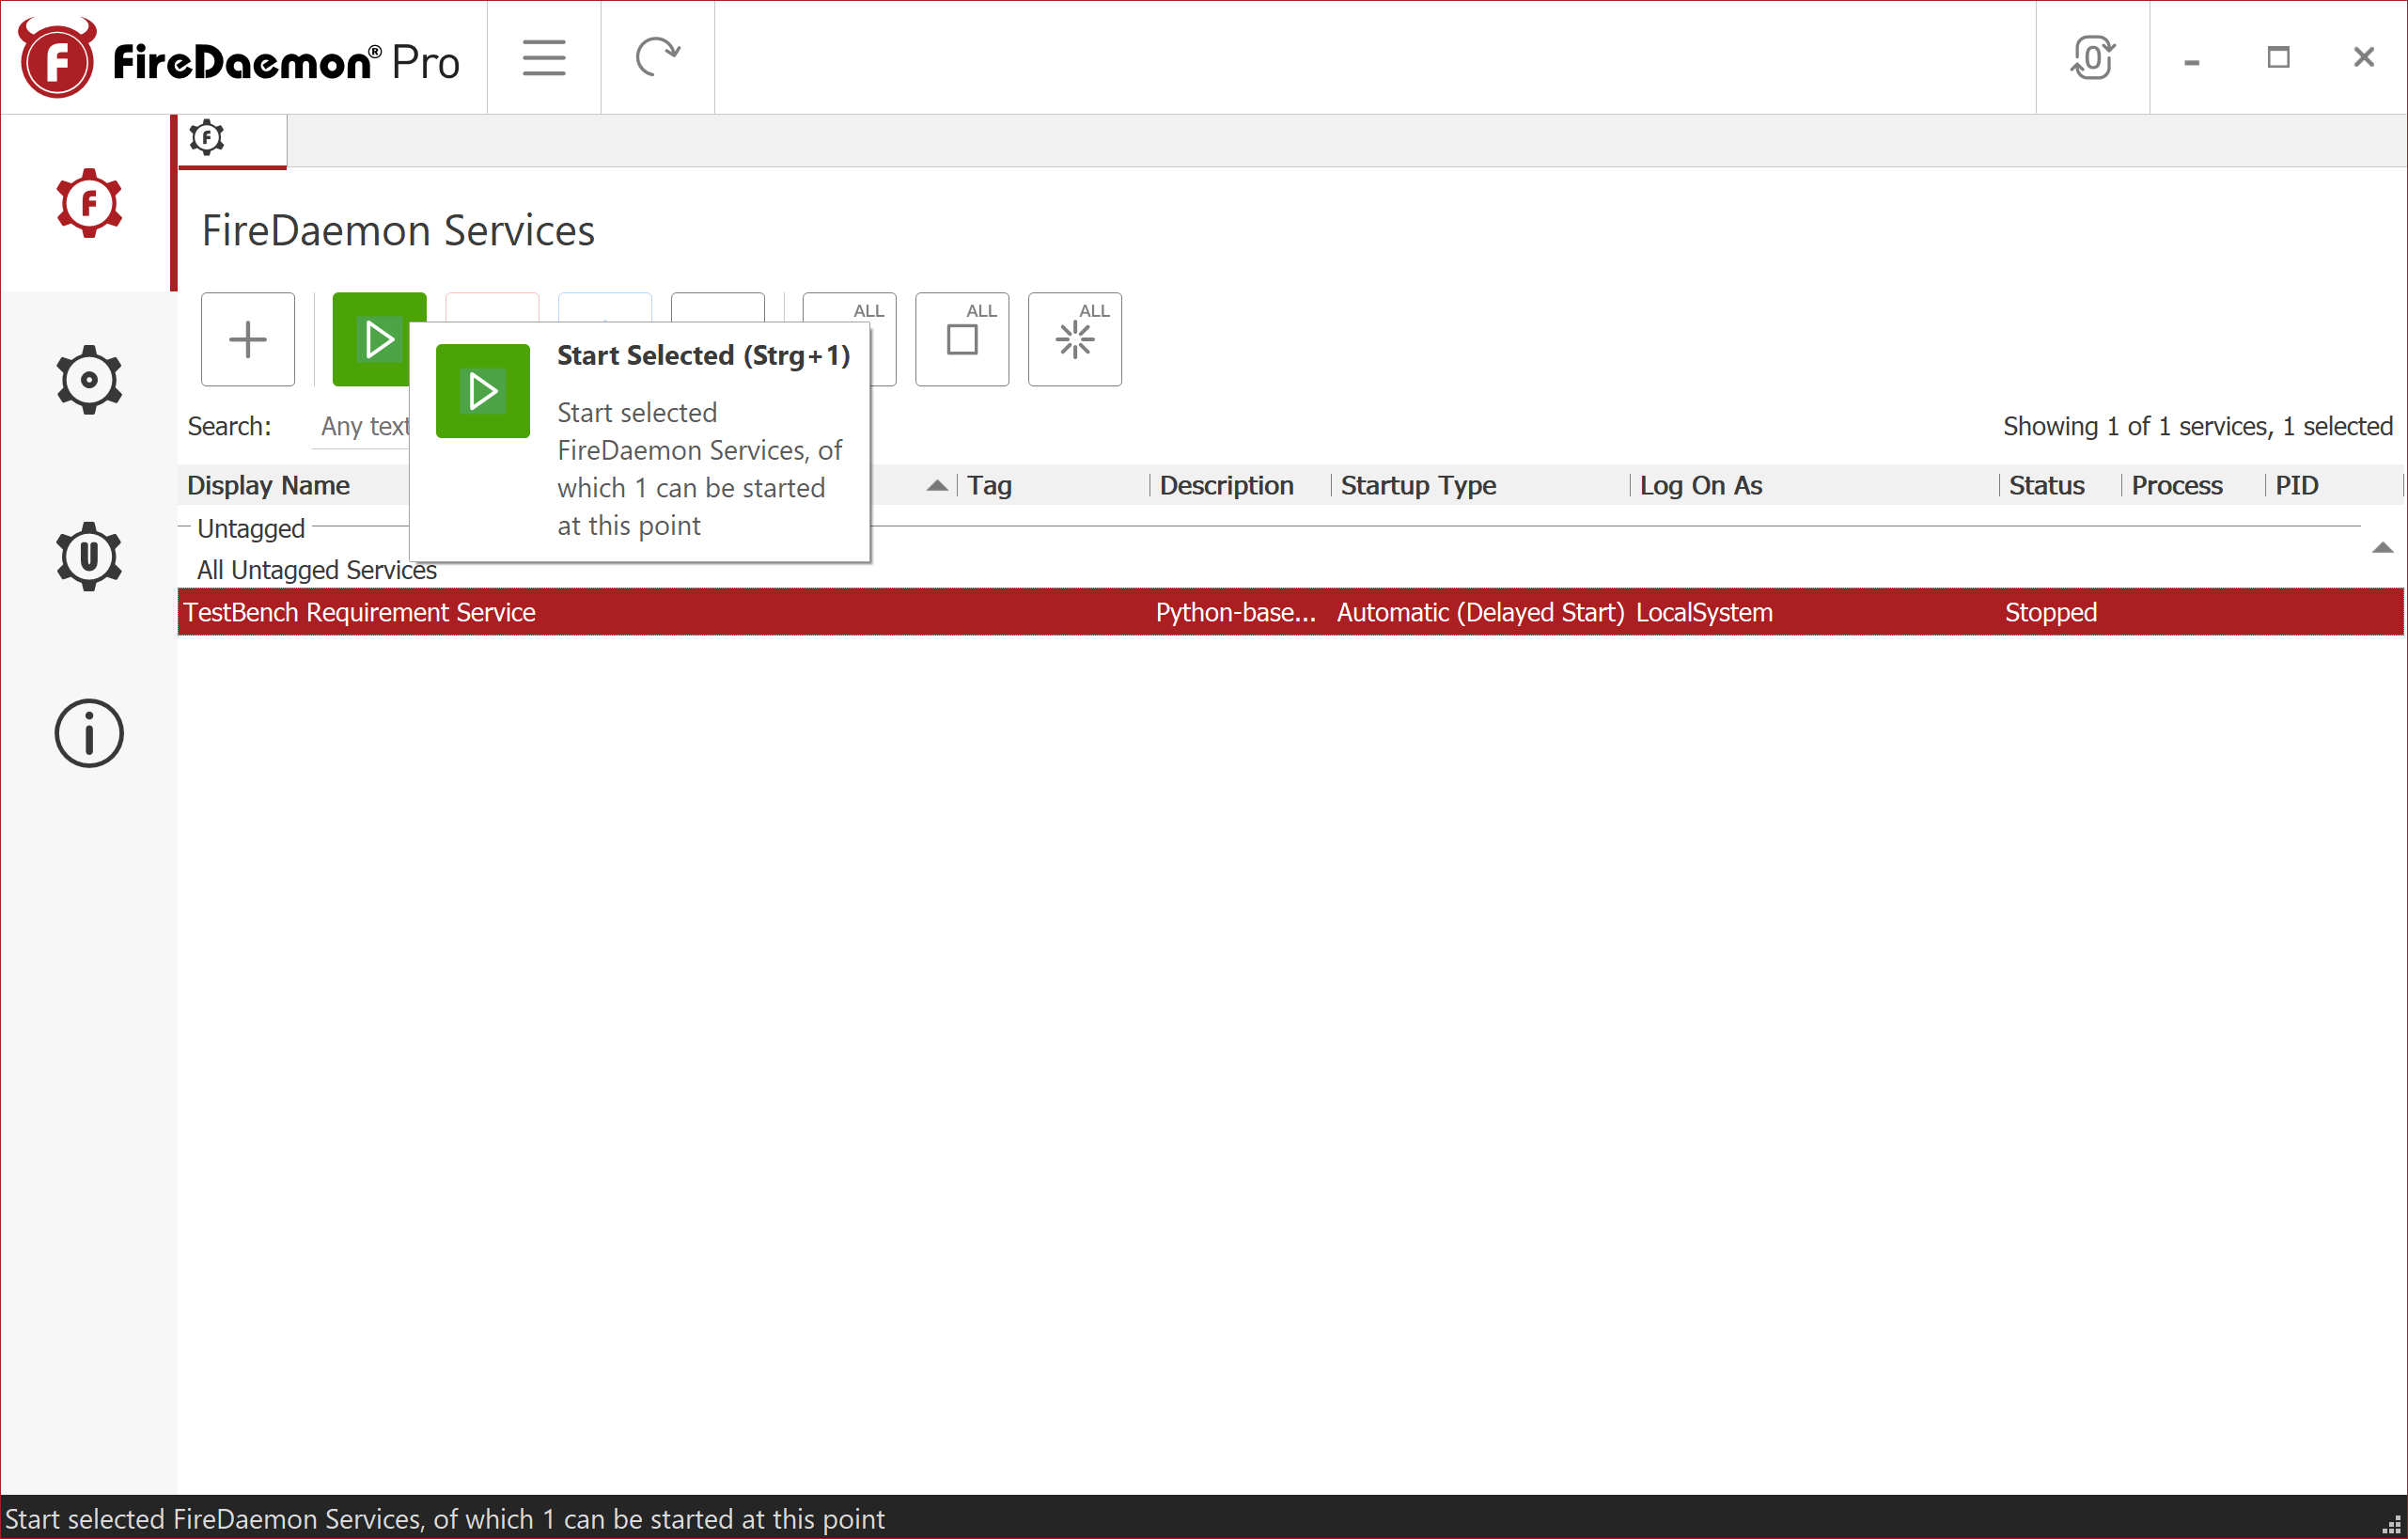
-
The service should now be running.
Managing the Service
First select the service from the services list.
-
Start service:
-
Stop service:
-
Restart service:

-
Edit service:

-
Remove service:
Option 3: YAJSW (Yet Another Java Service Wrapper)
Installation Steps
-
Requirements:
- Java Runtime Environment (JRE) installed
- Administrator privileges
-
Extract YAJSW into the service directory:
Download YAJSW and extract it into
<serviceInstallDir>\yajsw\.The result should look like:
<serviceInstallDir>\yajsw\bat\conf\lib\... -
Configure YAJSW:
Open
<serviceInstallDir>\yajsw\conf\wrapper.confand set the following values:# Java executable (adjust path to your Java installation)wrapper.java.command=C:/Program Files/Eclipse Adoptium/jdk-21/bin/java.exe# Windows Servicewrapper.ntservice.name=<serviceName>wrapper.ntservice.displayname=<serviceDisplayName>wrapper.ntservice.description=Python-based <serviceDisplayName># Service paths (forward slashes required by YAJSW)wrapper.working.dir=<serviceInstallDir>/wrapper.image=<serviceInstallDir>/.venv/Scripts/<serviceExecutable>wrapper.app.parameter.1=startwrapper.app.parameter.2=--portwrapper.app.parameter.3=<servicePort># Loggingwrapper.logfile=<serviceInstallDir>/logs/yajsw.logwrapper.logfile.maxsize=10mwrapper.logfile.maxfiles=5noteUse forward slashes (
/) in allwrapper.confpaths — YAJSW requires this regardless of platform. -
Test the configuration:
- Open Command Prompt as Administrator
- Run:
<serviceInstallDir>\yajsw\bat\runConsole.bat - Verify the service starts without errors, then stop with
Ctrl+C
-
Install and start the service:
- Open Command Prompt as Administrator
- Run:
<serviceInstallDir>\yajsw\bat\installService.bat - Run:
<serviceInstallDir>\yajsw\bat\startService.bat
Managing the Service
Open Command Prompt as Administrator:
- Start service:
<serviceInstallDir>\yajsw\bat\startService.bat
- Stop service:
<serviceInstallDir>\yajsw\bat\stopService.bat
- Remove service:
<serviceInstallDir>\yajsw\bat\uninstallService.bat
Autostart with Windows Task Scheduler (Alternative)
The Windows Task Scheduler is a simpler alternative to a registered Windows service. It can launch the service automatically at system startup without installing it as a service.
Setup
-
Open Task Scheduler (search in the Start menu, or Control Panel → Administrative Tools → Task Scheduler).
-
In the left pane, select the Task Scheduler Library folder.
-
In the Actions pane on the right, click Create Basic Task...
-
Enter a Name (e.g.,
<serviceDisplayName>) and an optional description → Next -
Select When the computer starts → Next
-
Select Start a program → Next
-
Configure the program:
- Program/script: Full path to
<serviceExecutable>, e.g.:- Ready-to-use executable:
<serviceInstallDir>\<serviceExecutable> - Python venv:
<serviceInstallDir>\.venv\Scripts\<serviceExecutable>
- Ready-to-use executable:
- Add arguments:
start - Start in (optional): The directory containing your
config.toml, e.g.,<serviceInstallDir>\
→ Next
- Program/script: Full path to
-
Check "Open the Properties dialog for this task when I click Finish" → Finish
-
In the Properties dialog, configure the following tabs:
- General: Set security options appropriate for your environment — e.g., "Run whether user is logged on or not" and "Run with highest privileges".
- Triggers: Select the existing trigger → Edit... → enable Delay task for (e.g.,
1 minute) as a startup buffer. - Conditions: Check that no unwanted conditions are active — for a server machine, uncheck "Start only if on AC power".
- Settings: Uncheck "Stop the task if it runs longer than:" — the service is intended to run indefinitely.
The service can be stopped via Task Manager or taskkill. Unlike a registered Windows service there is no clean shutdown handling. For production environments, NSSM or FireDaemon are the recommended approach.